Bird intubation is a last-resort emergency procedure that should almost always be performed by a wildlife veterinarian or licensed rehabilitator, not a lay rescuer. If you're reading this because you have a bird in front of you that has stopped breathing or is in clear respiratory failure, your most urgent job right now is to call a wildlife vet or rehabilitator immediately while you keep the bird warm, quiet, and still. If no professional is reachable, the steps below will walk you through what to do, but go into this understanding the risks are real and the window for getting professional help open is short.
How to Intubate a Bird: Humane, Safety-First Steps
Marcus Holloway
6 May 2026
Safety and humane triage before you do anything else
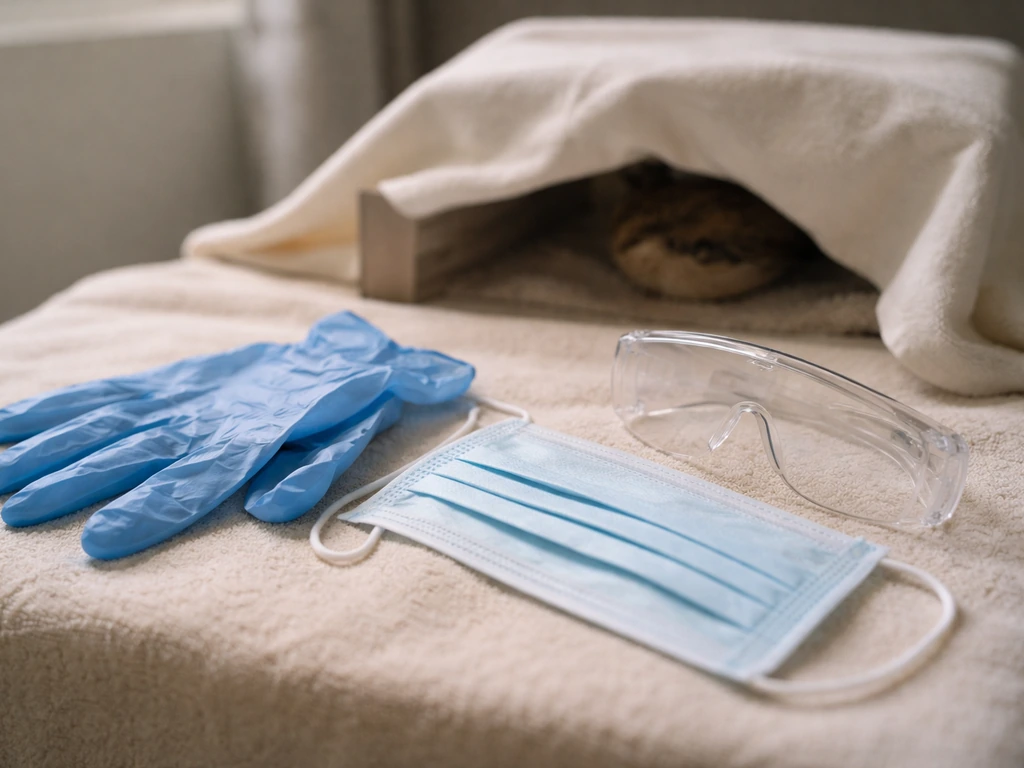
Before you touch the bird, take 30 seconds to protect yourself and assess the situation. Wild birds can carry diseases like avian influenza, salmonella, and chlamydiosis. Wear disposable gloves if you have them. Avoid touching your eyes or mouth, and don't let the bird's beak make contact with your face. The National Park Service specifically advises against handling sick birds unless necessary, and that advice applies here too.
Once gloved, do a quick triage before assuming intubation is what this bird needs. Run through these checks:
- Is the bird conscious and responsive, or completely unresponsive?
- Is there visible bleeding, a wound, or obvious trauma that needs direct pressure first?
- Is the bird's beak open and struggling to breathe, or is it just stunned and still?
- Is the chest or keel bone visibly heaving with each breath attempt?
- Are the mucous membranes (inside the mouth) pale, blue, or gray instead of pink?
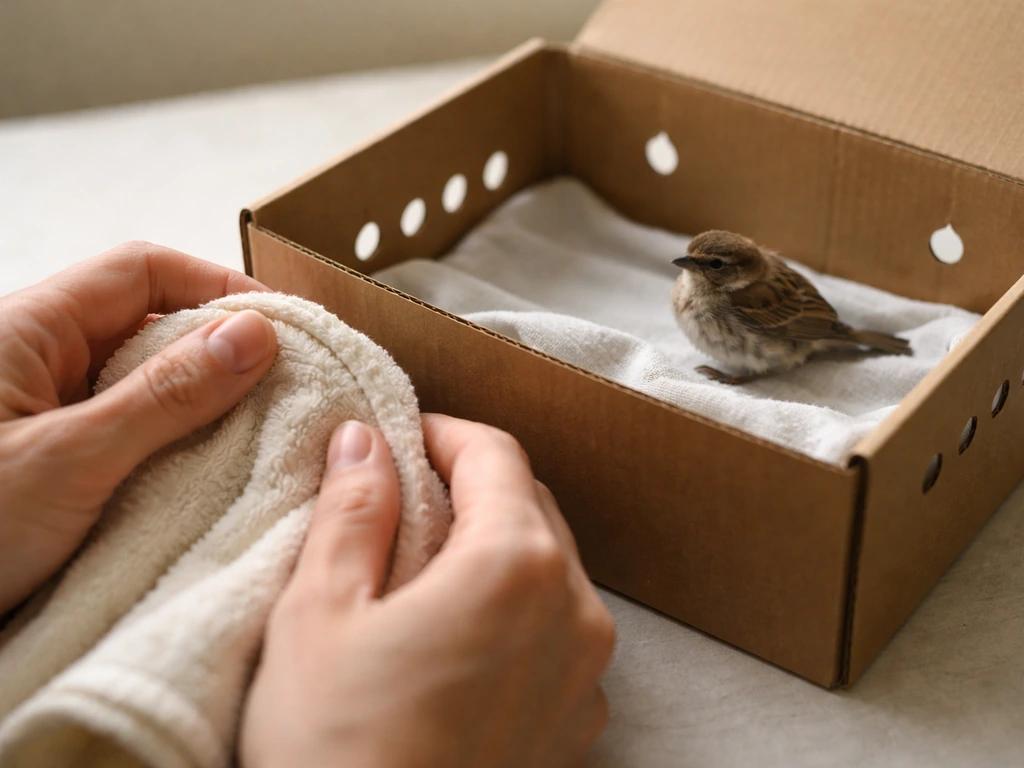
A bird that is simply stunned, hypothermic, or in shock often looks like it's in respiratory distress when it isn't. Warmth and quiet can stabilize a stunned bird without any invasive intervention. Place the bird in a small, dark, ventilated box lined with a soft cloth, keep it at around 85 to 90 degrees Fahrenheit (a heating pad on the lowest setting under half the box works), and give it 15 to 20 minutes. If it improves, intubation was never needed. If it doesn't, move to the next assessment.
One hard rule: do not put any liquids into a bird's mouth. For supportive hydration, you may also need to know how to give subcutaneous fluids to a bird, but only under veterinary guidance due to the risks of fluid overload and incorrect technique. Aspiration is extremely easy in birds, and even a few drops of water forced into the beak of a distressed bird can cause a fatal aspiration pneumonia. This same caution applies to syringe feeding or any oral fluid administration in a compromised bird. If someone is urging you to force-feed a bird, treat it as dangerous and step back to focus on immediate stabilization and veterinary guidance instead force-feeding a bird. If you are considering syringe feeding, get guidance from a wildlife rehabilitator first because the wrong approach can cause aspiration and worsen the bird's condition. If you are dealing with feeding needs, get species-appropriate guidance from a wildlife rehabilitator, because “how to feed the bird in Granny” is not something to improvise with homemade formulas.
When intubation is actually needed
Intubation is warranted only in a narrow set of circumstances: the bird is in active respiratory failure and no professional help is immediately available. This means the bird has stopped breathing entirely (apnea) or is making desperate, ineffective attempts to breathe with no air moving. MSPCA-Angell avian emergency guidelines note that intubation in birds is considered on a case-by-case basis and is a clinician decision, which is a good reminder that this is not routine first aid.
Signs that suggest a bird may need airway intervention:
- Complete apnea: no visible chest movement for more than 10 to 15 seconds
- Cyanosis: blue or gray color to the skin, mucous membranes, or bare facial skin
- Open-mouth breathing with no audible air movement (silent gaping)
- Extreme lethargy combined with labored, rapid breathing and extended neck posture
- Loss of consciousness with no response to gentle touch
Signs that look alarming but do not require intubation: noisy breathing from mucus or debris in the mouth (gentle position change or a soft cotton swab to clear the airway may help), gasping that responds to warmth, or labored breathing in a bird that is otherwise responsive and moving. Tube feeding and syringe feeding scenarios, even in weak birds, are separate situations where intubation is not appropriate. If you took over hand feeding, you can still transition the bird gradually to normal feeding with guidance tailored to its species. If the bird can hold its head up and swallow, it does not need an endotracheal tube. If you are dealing with a blind bird, get species-specific advice on safe supportive feeding, and avoid giving liquids unless a wildlife professional tells you to tube feeding and syringe feeding scenarios.
Getting the right equipment and setting up your space
The single biggest practical challenge for a lay rescuer is that proper bird intubation requires specific tube sizes that most people won't have on hand. Avian endotracheal tubes must be uncuffed. This is non-negotiable. Birds have complete, rigid, non-expandable tracheal rings, and an inflated cuff will cause immediate tracheal damage. If you only have cuffed tubes available, you can use them only if you leave the cuff fully deflated and never inflate it.
Tube sizing is critical and scales with the bird's body size. Using a tube that is even slightly too large will obstruct the trachea rather than open it. Here is a rough sizing guide based on common bird categories:
| Bird size/type | Approximate ET tube size (internal diameter) | Notes |
|---|---|---|
| Very small (finch, canary, small parakeet) | 1.0 to 1.5 mm | Extremely fragile; professional assistance strongly preferred |
| Small (budgie, lovebird, parrotlet) | 1.5 to 2.0 mm | Use the smallest tube that creates a seal without pressure |
| Medium (cockatiel, conure, small dove) | 2.0 to 2.5 mm | Most accessible size for improvised intubation if needed |
| Large (Amazon, African grey, crow, hawk) | 3.0 to 4.0 mm | More forgiving margin, but professional help still strongly preferred |
| Very large (goose, large raptor, heron) | 4.0 to 5.0 mm | Rarely a lay-rescuer scenario; call a vet immediately |
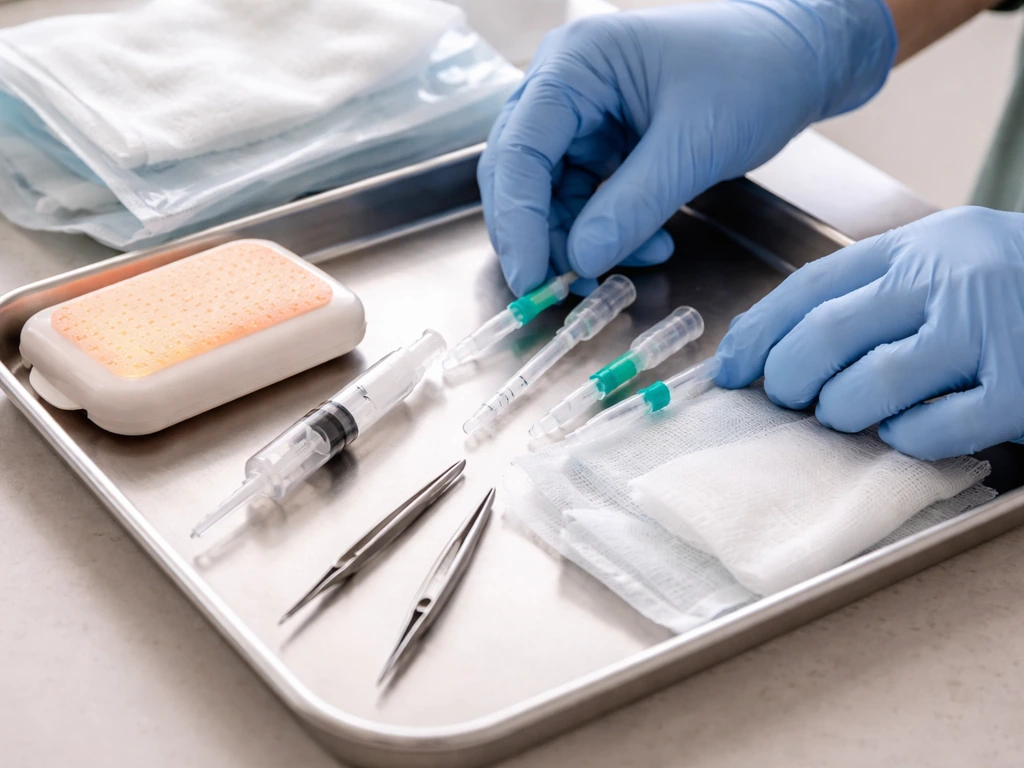
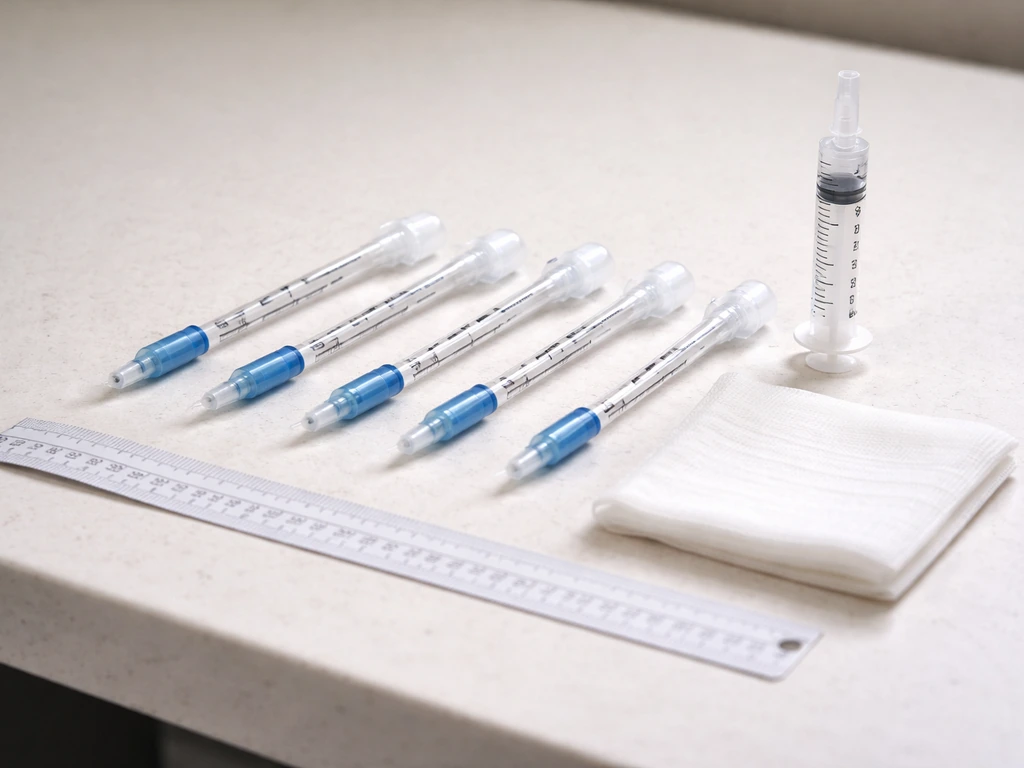
Beyond the tube, you will need: a clean, bright light source (a phone flashlight works), clean cotton swabs to clear any debris from the mouth, a small syringe (3 to 5 ml) to provide manual breath puffs if ventilating, and clean soft cloths to wrap the bird securely. Lay everything out and within reach before you pick up the bird. Speed and calm both matter here: the less time you spend searching for equipment mid-procedure, the better the bird's chances.
Work in a warm, quiet space. Stress accelerates respiratory failure in birds. Turn off loud music, keep other animals out of the room, and dim overhead lighting if you can while keeping your work light focused on the bird's head.
Step-by-step intubation procedure
One important piece of anatomy to understand before you start: birds do not have an epiglottis. The glottis (the opening to the trachea) sits at the base of the tongue and is visible as a slit-like opening on the floor of the mouth. This actually makes intubation more straightforward than in mammals because you can see what you're doing, but the lack of an epiglottis also means there is nothing to protect the airway from debris or fluid, so keeping the mouth clear is critical.
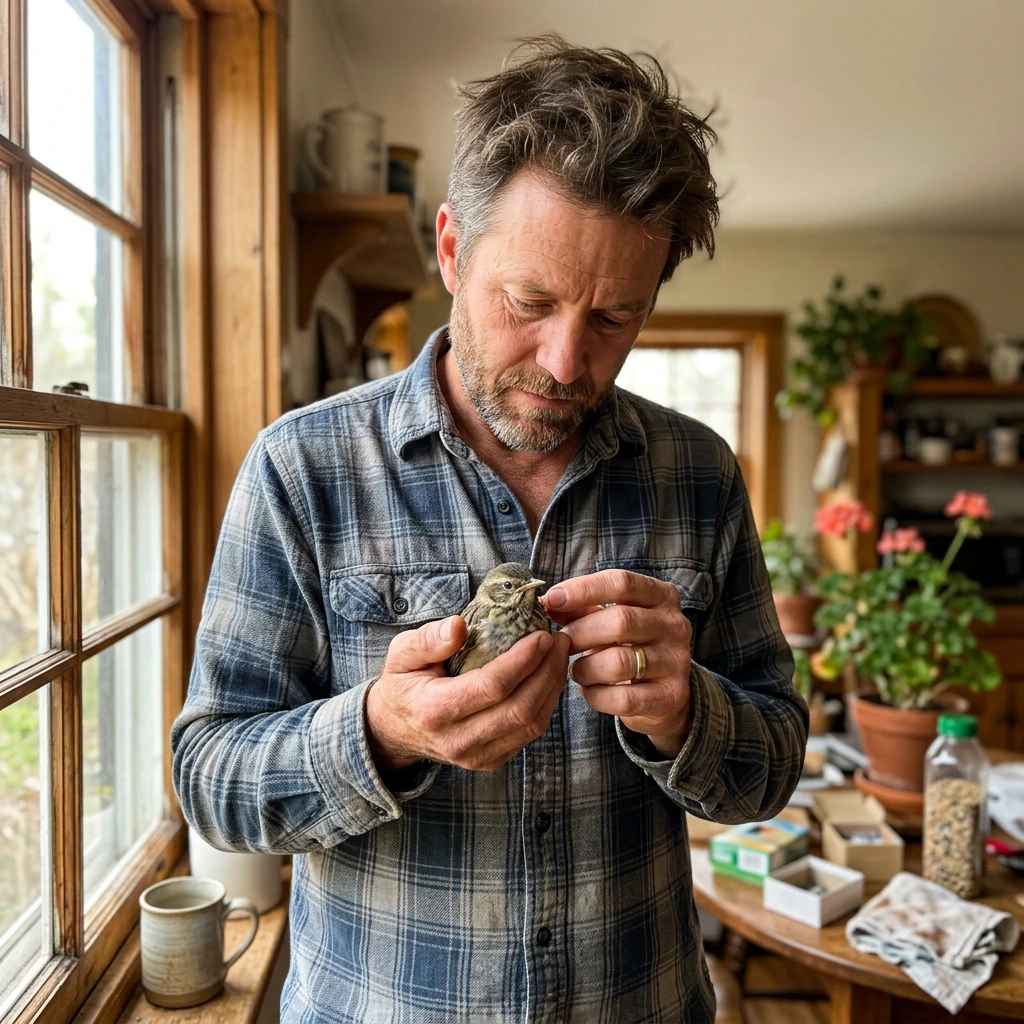
- Wrap the bird gently but firmly in a soft cloth or small towel to control wing movement and reduce struggling. Keep the bird's body upright or in a natural position. Do not compress the chest: birds breathe with their entire thorax, and pressure on the keel or sides will impair breathing even further.
- Hold the bird's head steady between your thumb and forefinger at the base of the skull, with your other fingers supporting the body. Tilt the head very slightly back to open the airway, but do not hyperextend the neck.
- Open the beak gently. In most birds you can use a soft fingertip or a small, smooth object like the rounded end of a pen cap to gently open the lower jaw. Do not force it open; apply gentle, steady pressure.
- Shine your light directly into the open mouth and look for the glottis at the base of the tongue. It looks like a narrow slit and may open and close if the bird is still making any breathing effort.
- Use a cotton swab to clear any visible mucus, blood, or debris from the glottis before tube insertion. Do not probe deeply.
- Hold the uncuffed endotracheal tube between your dominant thumb and forefinger like a pen. Advance the tip gently toward the glottis opening. The tube should slide in with minimal resistance when it's correctly aligned. Do not force it. If you feel resistance, reposition the head slightly and try again.
- Advance the tube only far enough that the tip sits just past the glottis, roughly 0.5 to 1 cm into the trachea in small birds, slightly more in larger birds. The tube tip should be just caudal to the glottis and no further. Advancing the tube too far is one of the most common ways to obstruct rather than open the airway.
- Once the tube is placed, watch for chest movement when you deliver a small breath. Attach your syringe to the tube hub and deliver one very gentle puff of air (0.5 to 1 ml for small birds, 2 to 3 ml for large birds). You should see the chest rise slightly. If the chest does not rise or the abdomen distends, the tube is in the esophagus, not the trachea. Remove it immediately and try again.
- If placement is confirmed by chest rise, secure the tube gently against the beak with a small piece of soft tape or hold it steady by hand. Do not let the tube shift position.
Ventilation support, monitoring, and what to watch for after intubation
Once the tube is confirmed in place, you need to deliver breaths manually if the bird is apneic. Use your syringe to give one gentle puff every 3 to 5 seconds for small birds, or every 5 to 8 seconds for larger birds. Think of it as a very light squeeze, not a forceful push. Overinflation causes barotrauma, which can rupture the air sacs. Veterinary guidance on manual intermittent positive pressure ventilation (IPPV) in birds describes it as a controlled, steady rhythm, not aggressive pumping.
Signs that things are going in the right direction:
- Visible, gentle chest rise with each delivered breath
- Gradual return of pink or reddish color to mucous membranes or bare skin
- The bird begins making its own breathing attempts between your delivered breaths
- Increased muscle tone or voluntary movement in the feet or wings
- Eyelid or beak movement returning
Signs that something is wrong and you need to reassess immediately:
- No chest rise at all with each breath attempt (tube may be displaced or obstructed)
- Abdomen distending rather than chest rising (tube is likely in the esophagus)
- Worsening cyanosis despite ventilation
- A gurgling or bubbling sound during ventilation (fluid in the airway)
- No response or improvement after 2 to 3 minutes of correct ventilation
Airway obstruction is the most common complication of bird intubation. If ventilation becomes difficult or suddenly stops working, remove the tube, check for mucus or debris blocking the lumen by looking through it toward a light source, and reinsert if clear. Keep the bird warm throughout. Hypothermia will undo any progress you make on the airway.
One thing to be aware of even if intubation goes well: tracheal damage from the tube may not be obvious immediately and can develop over days as a stricture that causes narrowing of the tracheal lumen. This is another reason why veterinary follow-up is not optional, even if the bird appears to recover.
When to stop and get professional help right now
If you have reached this point in the process and professional help is not yet involved, stop what you're doing and make that call your immediate priority. The Wildlife Center of Virginia is clear that breathing difficulty in a wild bird is a wildlife emergency, and that trained professionals can begin effective treatment immediately upon the bird's arrival. You should be on the phone with a wildlife vet, an emergency exotic animal clinic, or a licensed wildlife rehabilitator at the same moment you are providing support, not after. While intubation can be lifesaving in a narrow emergency, if you are dealing with feeding instead, use a bird-appropriate approach for tube feeding only with professional guidance and correct technique how to tube feed a bird.
Stop intubation attempts and move directly to stabilization and transport if:
- You cannot place the tube after two or three careful attempts
- You cannot confirm correct placement by chest rise
- The bird's condition is worsening despite ventilation
- You do not have appropriately sized uncuffed tubes available
- The bird is a very small species (finch-sized or smaller) where the risk of injury from the procedure itself exceeds the potential benefit
In these situations, stabilization means: keep the bird warm (85 to 90 degrees Fahrenheit), keep it in a dark, quiet, ventilated container, minimize handling, and transport it as quickly as possible to a wildlife veterinarian or rehabilitator. Organizations like the Wildlife Center of Virginia and wildlife rehabilitation centers across the country accept injured birds for emergency care. The Golden Gate Bird Alliance and similar regional organizations can connect you to local resources quickly.
To find a licensed wildlife rehabilitator near you, call your state's fish and wildlife agency, search the National Wildlife Rehabilitators Association (NWRA) directory, or call a local humane society or animal control office. Most emergency exotic veterinary clinics can also provide immediate triage for birds.
Once the bird is in professional hands, let the team know exactly what you did: what size tube you used, how many breaths you delivered, and how the bird responded. That information helps the vet assess for tracheal injury, aspiration, or other complications from the procedure. Your quick action and honest account of what happened can directly affect the bird's outcome.
FAQ
How do I tell the difference between respiratory distress and a bird that just needs warmth and rest?
If the bird is still moving air or you can see breaths occurring (even if they look weak), intubation is usually not the next step. Focus on warming and keeping it still, and only consider an airway intervention when attempts are clearly ineffective, such as apnea or desperate gasping with no meaningful airflow. If you are unsure, you can tell a vet what you observe (breathing rate, whether the chest rises, and responsiveness).
What should I do if the tube is in but breaths stop going in (ventilation fails)?
Yes, but only as a temporary, corrective step. If ventilation suddenly becomes difficult, stop breaths, remove the tube, check for mucus or debris by looking through it toward a light, clear the airway as best you can, then reattempt only if it looks unobstructed. If you cannot restore ventilation quickly, stop attempts and prioritize stabilization and transport.
Can I leave the tube in while I wait for a wildlife clinic to arrive?
Do not keep the bird intubated while waiting for help to arrive for a long time. The article’s key principle is emergency, last-resort use when no professional help is immediately reachable. Once a response team or clinic is within reach, stop ongoing attempts, keep the bird warm and calm, and transport as quickly as possible because prolonged intubation increases the risk of tracheal injury and swelling.
What if I’m not sure the tube is actually in the trachea?
Completely. Without confirmation of tube placement and airflow, you risk injuring the trachea or worsening respiratory failure. If you cannot confidently see that the tube is positioned in the airway and that ventilation is working, stop. Use warming, a ventilated dark container, and immediate transport as the backup plan.
What are the signs I used a tube that was too big or too small?
A common mistake is using the wrong size tube. If the tube is even slightly too large, it can obstruct the trachea rather than open it, making ventilation harder. If breaths become progressively difficult soon after placement, reassess obstruction first, then reassess sizing. Do not “force” ventilation.
What if the bird gagging or swallowing makes the procedure feel unsafe?
If the bird swallows or gags during the process, that is a warning sign. Keep the bird calm, minimize repeated attempts, and reassess whether the airway is clear and whether ventilation is actually working. Repeated blind attempts raise the risk of aspiration and tracheal trauma, so after a brief reassessment you should stop and prioritize stabilization and transport.
Is it okay to give water to “help” a bird while I’m working on intubation?
You should not give any oral fluids, including water, during respiratory failure or while the bird cannot reliably swallow. Aspiration can cause fatal pneumonia, and birds lack an epiglottis, so the airway is not protected from debris or liquid. For hydration needs beyond emergency warming, follow veterinary guidance instead.
What if I only have cuffed tubes available?
You need an exact, species-relevant tube size and an uncuffed avian endotracheal tube. If you only have cuffed tubes, they must remain fully deflated, never inflated, because inflated cuffs can damage the rigid tracheal rings. If you cannot meet the uncuffed requirement or you are missing correct sizing options, do not proceed.
How do I recognize overinflation or ineffective ventilation while giving manual breaths?
If you delivered breaths and the bird’s chest does not visibly rise, ventilation is not working, or the breath rhythm is too aggressive, you need to reassess immediately. Check for obstruction, confirm the airway is clear, ensure the tube is unobstructed, and switch to a safer plan if you cannot restore ventilation quickly. Overinflation can also cause barotrauma, so keep breaths gentle and timed.
If the bird looks better after intubation, why is follow-up still necessary?
Yes. Even if the bird improves right away, tracheal damage can develop over days as a narrowing (stricture). That is why veterinary follow-up is essential. Tell the clinic exactly what you did (tube size, number of breaths, duration, and how the bird responded) so they can evaluate for injury even when it seems fine.
When should I stop trying if the bird still won’t breathe?
If the bird remains apneic despite brief, correct attempts at airway ventilation, do not continue indefinitely. Stop intubation attempts, keep it warm (about 85 to 90°F), place it in a dark, quiet, ventilated container, and transport immediately while you keep phone contact with a wildlife professional if possible.
If the real problem is feeding (not breathing), what should I do instead of intubating?
You can still help without oral feeding. Provide warmth, reduce stress, and avoid giving anything by mouth. If feeding is the real issue later, only use species-appropriate feeding guidance from a rehabilitator or vet, because weak birds and blind birds have higher aspiration and safety risks during oral interventions.
Next Article
How to Stop Hand Feeding a Bird Safely and Humanely
Step-by-step humane way to stop hand feeding a bird, with weaning, safe temp care, and red flags to call a rehabber.