If you have a featherless hatchling bird in your hands right now, the most important things you can do today are: keep it warm, keep it quiet, and get it to a licensed wildlife rehabilitator as fast as possible. Do not feed it or give it water yet. That sounds counterintuitive, but improper feeding is one of the fastest ways to kill a hatchling, and warming and stabilizing the bird takes priority over everything else.
How to Raise a Hatchling Bird: Step-by-Step Care Guide
Marcus Holloway
30 Apr 2026
First: Figure Out If It Actually Needs You
Not every baby bird you find on the ground is in trouble. There are two very different life stages you might be looking at, and they need completely different responses.
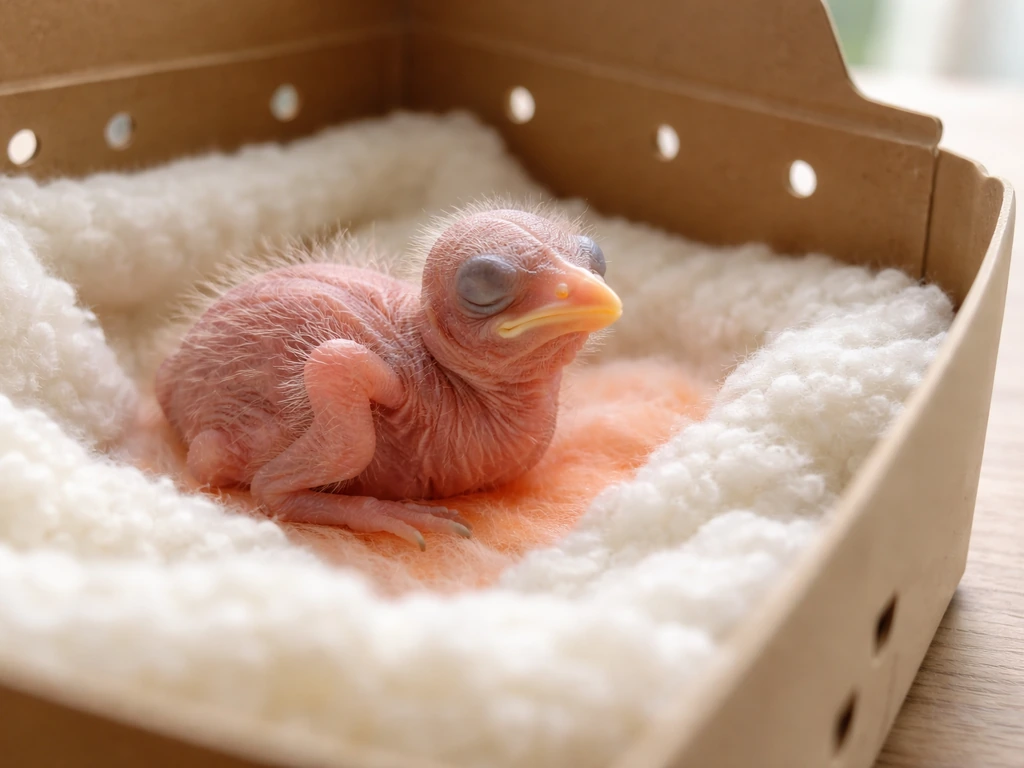
A hatchling or nestling is featherless or has only sparse, patchy down. Its eyes may still be closed, and it has little ability to move on its own. This bird genuinely cannot survive outside a nest. If you find one like this, it needs intervention.
A fledgling, by contrast, is mostly feathered, can hop around, and may be learning to fly. These birds are often completely healthy and are supposed to be on the ground. Their parents are usually nearby. If it's a fledgling with no obvious injuries, the best move is to leave it alone, move any cats or dogs away from the area, and watch from a distance to see if the parents come back.
For a true hatchling, your first check should be: is the nest visible nearby? If you can find it and safely reach it, gently place the bird back in. The parent birds will not reject it because you touched it. That's a myth. Returning the bird to its own nest, with its own siblings and parents, is always the best outcome.
If the nest is destroyed, the parents are confirmed dead, or you simply cannot locate the nest, then you're moving into temporary rescue mode. Call a wildlife rehabilitator or avian vet immediately while you set up supportive care. If you're unsure whether the bird needs help at all, call a rehabilitator before you do anything else. The International Wildlife Rehabilitation Council (IWRC) and your local wildlife agency can direct you to the nearest licensed rehabilitator.
Set Up a Safe Temporary Nest
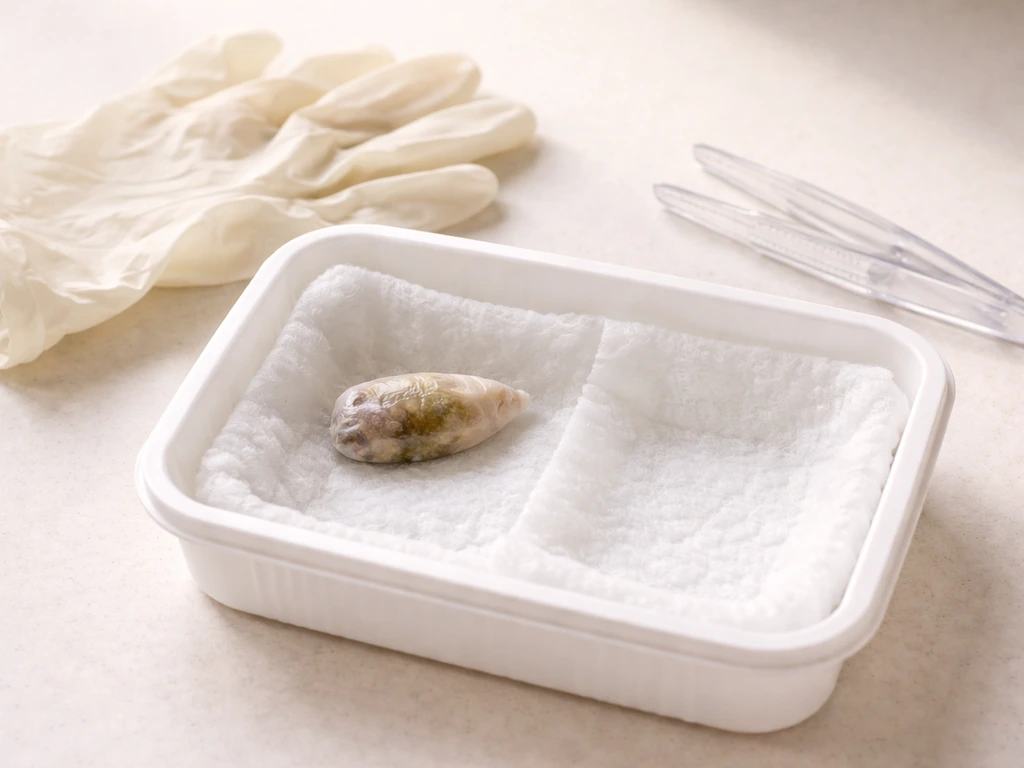
While you're making calls, get the bird into a safe holding space. You're not building a permanent home here, just a stable, calm environment that keeps the bird contained and stress-free for the next few hours.
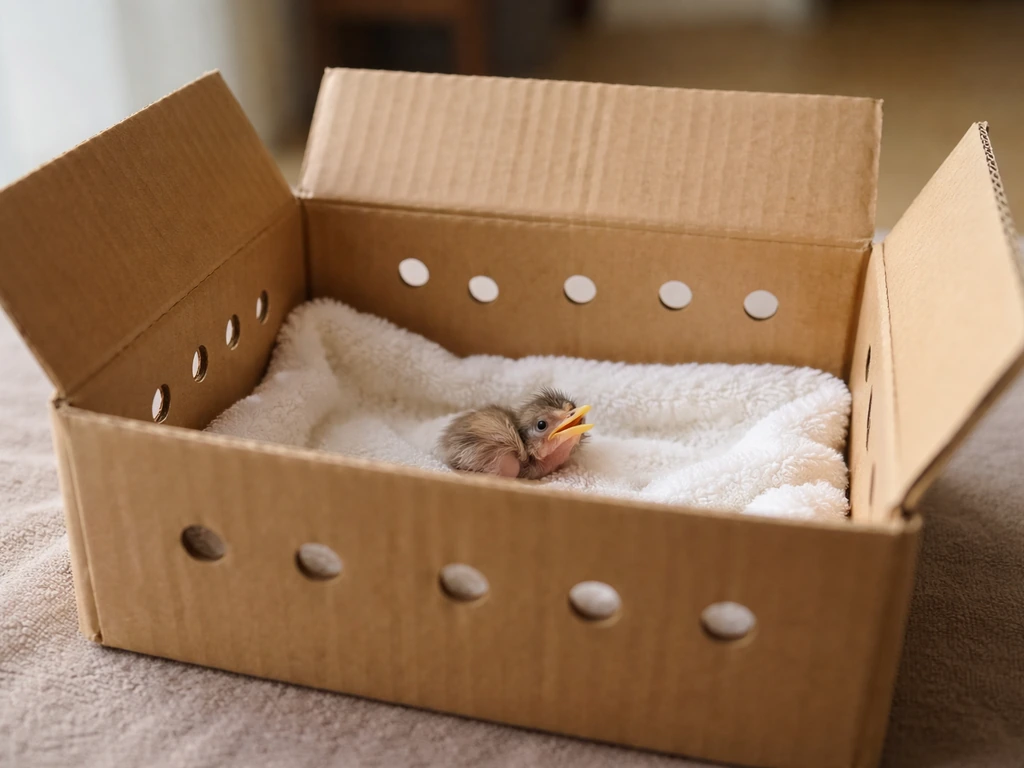
Use a small cardboard box with ventilation holes poked in the sides. Line the bottom with a few layers of paper towels or a soft cloth. If the bird is very small and has no way to grip, you can shape the liner into a shallow cup to mimic a nest shape. Keep the box small enough that the bird can't flop around and injure itself.
Once it's in the box, put the lid on (or drape a cloth over the top) and place it somewhere dark, quiet, and away from household activity. No TV noise, no curious kids leaning in, no cats or dogs nearby. Stress is a real danger for hatchlings, and every unnecessary disturbance costs the bird energy it doesn't have.
- Small cardboard box with ventilation holes
- Liner: paper towels, a clean cloth, or absorbent kitchen paper
- Keep the box size small to prevent injury from flopping
- Lid or drape to keep it dark
- Away from fans, air vents, and air conditioning
- No food or water until you have species-specific guidance from a rehabilitator
Warming the Bird: Temperature Targets by Stage
This is the most urgent thing you can do right now. Hatchlings are cold-blooded in the sense that they cannot regulate their own body temperature. Birds naturally run very high body temperatures, around 104 to 108°F, and a featherless hatchling sitting at room temperature is already losing heat fast. A cold bird cannot digest food, cannot absorb nutrients, and will decline quickly. Warming comes before feeding, always.
The safest warming method at home is a heating pad set to low, placed under one half of the box, not under the whole thing. This creates a temperature gradient, meaning the bird can move toward warmth or away from it if it gets too hot. Put a folded towel between the heating pad and the box to buffer direct heat. Never place the bird directly on a heating pad with nothing in between.
If you don't have a heating pad, fill a plastic bottle or zip-lock bag with very hot water, wrap it in a small towel, and place it to one side of the box. This works for an hour or two but needs to be refreshed as it cools. A microwaveable heat pack works the same way.
| Stage | Approximate Heat Target | Feather Status | Warming Notes |
|---|---|---|---|
| Hatchling (days 1-5) | 95-100°F ambient | Naked/bare skin | Heating pad on low under half the box, towel buffer required |
| Young nestling (days 5-12) | 90-95°F ambient | Pin feathers emerging | Heating pad on low, begin monitoring movement toward/away from heat |
| Older nestling (days 12+) | 85-90°F ambient | Feathers developing | Monitor closely; bird can start regulating somewhat but still needs supplemental heat |
| Fledgling | ~85°F or room temp if feathered | Mostly feathered | Usually does not need active warming unless injured/wet/hypothermic |
Watch for signs of overheating: panting, holding wings away from the body, or moving as far from the heat source as possible. Signs of being too cold include shivering, lethargy, and the bird pressing itself flat. Aim for a bird that is calm, upright (or resting quietly), and not visibly distressed.
Feeding: What to Give, How Often, and How to Do It Safely
This section has a hard rule at the top: do not feed the bird before you have guidance from a wildlife rehabilitator or avian vet. Multiple wildlife organizations, including the Bi-State Wildlife Hotline and RSPCA, are emphatic on this point. Feeding the wrong food, feeding before the bird is warm enough to digest, or feeding incorrectly can cause aspiration (food entering the airway), crop impaction, infection, and death. If you are hours from getting the bird to a professional, call them first and ask what to feed.
That said, if you are a longer distance from a rehabilitator, the bird is clearly alert and begging, and you've confirmed with a professional what to offer, here is a general framework for temporary feeding.
What Hatchlings Eat
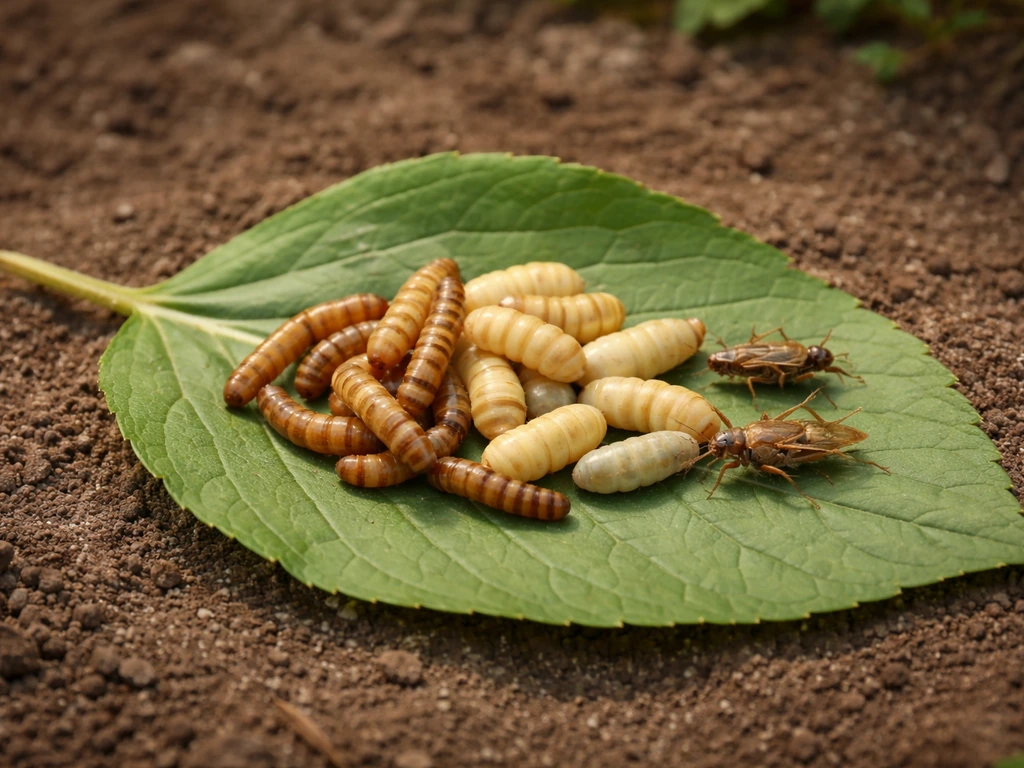
Most wild songbird hatchlings are fed insects by their parents, specifically soft-bodied insects like mealworms, waxworms, and small crickets. For emergency short-term care, rehydrated dried mealworms (soaked in water until soft) are commonly recommended by rehabilitators as a starting point for insectivorous species. Do not offer bread, milk, water via dropper, fruit juice, or any processed human food. These are all dangerous. The specific diet varies significantly by species, which is one more reason to get professional guidance before feeding.
How Often to Feed
Parent birds feed nestlings roughly every 15 to 30 minutes during daylight hours. In a temporary care situation with a very young hatchling, aim for every 20 to 30 minutes from sunrise to sunset, and do not feed at night. Hatchlings do not eat overnight. Night feeding is not only unnecessary but risky, as food can sit undigested and cause problems.
How to Feed Safely
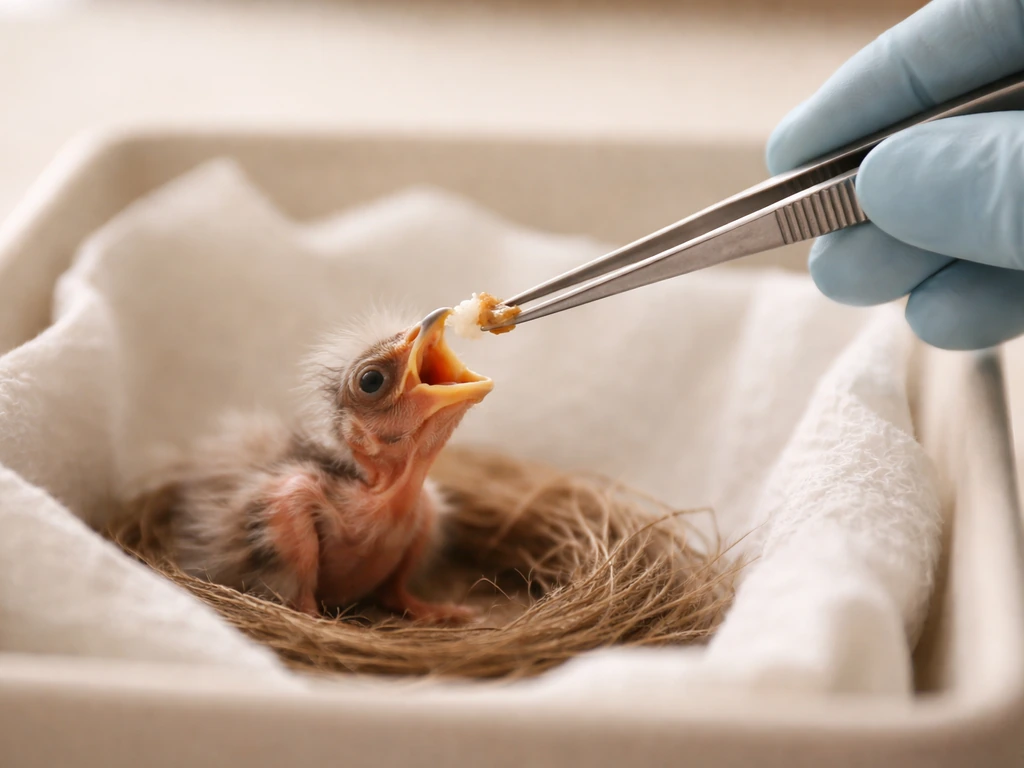
The safest method is to use blunt-tipped tweezers or forceps to offer small pieces of food directly to the bird's open beak. Wait for the bird to gape (open its beak and beg) before offering anything. Never force the beak open. Place the food at the side of the mouth toward the back, not directly down the throat. The bird should swallow on its own.
Portion size matters. Merck veterinary guidance notes that initial feedings should be conservatively sized. For most hatchlings, a single piece no larger than the bird's eye is appropriate per feeding. Watch the crop, the small bulge visible at the base of the neck on most birds, after feeding. A full but not overstuffed crop is the goal. If the crop looks stretched, distended, or is not emptying between feedings, stop feeding and contact a rehabilitator immediately.
Never use a syringe or dropper to feed a hatchling unless you have been specifically trained to do so and have been told to by a professional. Syringe feeding in untrained hands is one of the most common causes of aspiration in baby birds. The liquid enters the trachea instead of the esophagus and the bird can drown in seconds.
Daily Care: Hydration, Hygiene, Handling, and Watching Growth
Hydration
Hatchlings get most of their moisture from food, not from drinking. Do not offer water in a dish, and do not drip water into their mouths. This is a drowning and aspiration risk. If the food you're offering is dry (like unsoaked dried mealworms), the bird can become dehydrated quickly. Soak food items in water and let them absorb moisture before offering. A slightly plump, elastic skin over the body is a sign of good hydration. Skin that wrinkles or tents when gently pinched suggests dehydration, which requires professional intervention.
Hygiene and Waste
Hatchlings produce fecal sacs, small membrane-wrapped packets of waste, after each feeding. In the wild, parent birds remove these from the nest. You'll need to do the same. After each feeding, gently check the bottom of the nest and remove any waste with a tissue or paper towel. Change the liner at least twice a day. A dirty nest leads to infection and skin irritation fast.
Handling
Handle the bird as little as possible. Every time you pick it up, you're stressing it. Use handling only for feeding, cleaning the nest, and assessment. When you do hold it, cup it gently in your palm with your fingers loosely around it to provide support. Don't squeeze. Keep sessions short. Wash your hands before and after every contact.
Monitoring Growth and Progress
A thriving hatchling will gain weight noticeably from day to day. If you have a small kitchen scale, weigh the bird at the same time each morning before its first feeding. Even a gram or two of daily gain is a positive sign. Other good signs include strong begging responses (gaping mouth, bobbing head), warm skin, a crop that fills and empties normally, and alert eyes once they open. A bird that is declining will feel lighter, become less responsive, stop begging, and may develop sunken eyes or labored breathing. Any of these signs mean you need professional help today, not tomorrow.
When Things Go Wrong: Common Problems and What to Do
The Bird Refuses to Eat
If a hatchling is not gaping and begging, it may be too cold, too stressed, or too weak. Check the temperature first. A bird that hasn't been warm long enough will not have the energy to beg. Give it 20 to 30 minutes of proper warmth before attempting to feed again. If warming does not trigger a begging response after an hour, the bird needs veterinary assessment. Do not force food into an unresponsive bird.
Aspiration Risk
Aspiration happens when food or liquid enters the airway instead of the crop. Signs include clicking sounds when breathing, bubbles around the mouth or nostrils, sudden labored breathing after feeding, and the bird going limp. This is an emergency. Stop feeding immediately, keep the bird warm and upright (never on its back), and get it to an avian vet or rehabilitator as fast as you can. Aspiration is fatal without professional intervention.
Dehydration and Weakness
A dehydrated hatchling has wrinkled, loose skin, sunken eyes (once they open), and is noticeably lighter and less active than it should be. Do not try to rehydrate by giving water orally. This is a job for a rehabilitator or vet, who can administer fluids subcutaneously or via crop tube if needed. Keep the bird warm and get it to help.
Crop Problems
A crop that feels hard, doughy, or has not emptied several hours after feeding may be impacted. A crop that looks stretched and sour-smelling may be sour crop, a bacterial infection. Both conditions require professional care. Stop feeding and contact a rehabilitator or avian vet.
Emergency Signs That Need Immediate Help
- Labored, open-mouth breathing or gasping
- Clicking or wheezing sounds when breathing
- Unresponsive or completely limp
- Bleeding, visible wounds, or a dangling limb
- Seizures or uncontrolled trembling
- Not gaining weight after 48 hours of correct care
- Crop not emptying between feedings
Getting the Bird to Professional Help
A licensed wildlife rehabilitator is the best possible outcome for this bird. They have the species knowledge, the proper diets, the housing, and the legal authorization to care for wild birds through to release. Your job as the finder is to stabilize the bird, not to raise it yourself. The goal of everything in this guide is to keep the hatchling alive long enough to get it into trained hands.
How to Find a Rehabilitator
- Search the IWRC (International Wildlife Rehabilitation Council) directory online
- Contact your state or regional wildlife agency (Fish & Wildlife Service in the US, equivalent bodies in Canada, UK, Australia)
- Call a local avian vet and ask for a referral to a licensed rehabilitator
- Search the National Wildlife Rehabilitators Association (NWRA) finder tool
- In the UK, contact the RSPCA or a local wildlife rescue
What to Tell Them
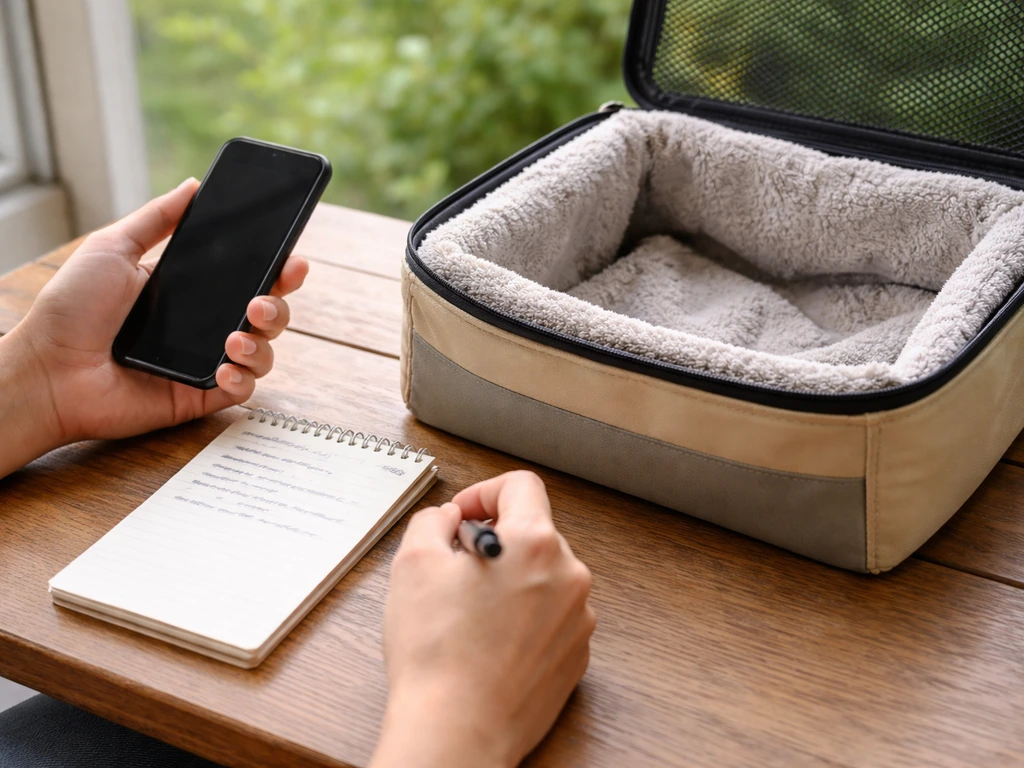
When you call, be ready to describe: where you found the bird (exact location, habitat type), when you found it, what it looks like (feathered or bare, eye color, approximate size), what condition it's in (active, lethargic, injured, cold), whether you've fed it or given water, and what you've been using for heat. This helps them triage over the phone and tell you whether to bring it in immediately or wait until they open.
Transporting Safely
Transport in the same small, ventilated box you've been using. Keep heat going during the drive, either with a wrapped warm water bottle to one side or a heating pad on low under half the carrier. Drape a cloth over the box to keep it dark and reduce stress. Don't open the box during transport to check on the bird, and don't play loud music. Drive directly and calmly. The quieter and warmer the transport, the better the bird's chances on arrival.
If the clinic is closed when you call, leave a detailed message and keep the bird stable in its warm, dark box overnight. Tufts Wildlife Clinic recommends this approach specifically: secure the animal, keep it quiet, and wait for professional guidance rather than escalating home care through the night.
What Success Actually Looks Like
In the short term, success means a bird that is warm, responsive, gaining weight, and producing waste after feedings. Over days and weeks in professional care, success means steady feathering, increasing activity, and eventually the transition to a flight cage and self-feeding. A hatchling that arrives at a rehabilitator in stable condition has a genuinely good chance of making it to release, and that's what you're working toward with every decision you make today.
If you're also dealing with an unhatched egg, the care approach is different and requires an incubator setup with specific humidity and temperature controls. If you are trying to hatch a robin egg, the incubation temperature and humidity need to be dialed in very precisely from the start an incubator setup with specific humidity and temperature controls. If you're dealing with unhatched small bird eggs too, you will need an incubator setup with the right humidity and temperature for successful hatching how to hatch small bird eggs. If you are dealing with how to hatch a wild bird egg, focus on proper incubation conditions and get guidance from a licensed rehabilitator before attempting anything at home unhatched egg. If you're dealing with an unhatched egg, follow proper incubation guidance rather than trying to hatch bird eggs at home without the right controls how to hatch bird eggs at home. If you are trying to hatch an egg that was left behind or found, use proper incubator conditions and species-specific timing to avoid fatal mistakes unhatched egg. The process for raising a hatchling begins the moment the egg hatches, so understanding both stages together can help if you're managing a nest situation from the start.
Your Immediate Checklist
- Confirm it's a hatchling/nestling, not a fledgling (featherless or sparse down, eyes closed or just opening)
- Check for a nearby nest and return the bird if safely possible
- If no nest is available, set up a small ventilated box lined with paper towels
- Add gentle heat: heating pad on low under half the box with a towel buffer, targeting around 95-100°F ambient for a bare hatchling
- Place the box in a dark, quiet room away from pets, people, and air vents
- Do not feed or give water yet
- Call a licensed wildlife rehabilitator or avian vet immediately
- If you're told to feed, use soft moistened food (like rehydrated mealworms for insectivores) offered with blunt tweezers, never a syringe
- Monitor for emergency signs: labored breathing, limpness, no response to warmth
- Transport in the warm, dark box as soon as a rehabilitator is available
FAQ
If I touch a hatchling, will the parents reject it?
Yes, in most cases. If the nest is visible and reachable, gently putting the bird back is the best option. Before you touch anything, clear the area of cats and dogs and check that you are not preventing the parents from accessing the nest. If you cannot find the nest, or it is clearly destroyed, shift to rescue mode and contact a licensed rehabilitator immediately.
Can I give a hatchling a tiny taste of food to keep it alive until I get help?
Do not. Even “just a little” can be lethal if the bird is not warm enough for digestion or if the food is the wrong type. If you are waiting for guidance, focus on warmth and calm only, then call a rehabilitator or avian vet and ask what, if anything, is appropriate for your exact situation (species and developmental stage).
Should I put water in a dish or drip water into the beak?
A common mistake is assuming all baby birds drink the same way. Hatchlings get moisture mostly from food, and offering water by dish or dropper creates drowning and aspiration risk. If the only food you have is dry, soak it until soft, then offer small pieces at the proper time intervals as directed by a professional.
What should I do if the hatchling is not gaping and begging?
Start by confirming warmth first. If the bird is not begging, it is often too cold, too stressed, or too weak. Warm the bird properly for 20 to 30 minutes, then try again. If there is still no gaping response after about an hour of correct warming, stop home feeding and get veterinary or rehabilitator assessment the same day.
How do I know if I am feeding too much or feeding wrong?
If the crop is not emptying between feedings, or it looks stretched, distended, or oddly firm, stop feeding right away and contact a rehabilitator or avian vet. Also stop if you notice sour odor (possible sour crop) or if the bird seems worse after feeds. These are not “wait and see” problems for hatchlings.
What are the signs that the hatchling aspirated during feeding?
Yes. Avoid feeding if you suspect aspiration, such as clicking when breathing, bubbling around the mouth or nostrils, sudden labored breathing after feeding, or going limp. If aspiration is suspected, stop feeding, keep the bird warm and upright, and seek urgent professional care immediately.
How can I tell whether the bird is a hatchling or a fledgling?
If you are not sure whether it is a hatchling versus a fledgling, do a fast visual check: hatchlings are featherless or have sparse down and usually have little movement, eyes may be closed, and survival outside a nest is unlikely. Fledglings are mostly feathered, can hop, and are often okay on the ground if uninjured. When uncertain, call a rehabilitator before doing feeding or nest-handling steps.
How often should I clean the holding box and liner?
Change the bedding more often than you think if it gets wet or soiled. A practical approach is to remove fecal sacs immediately after feeds and refresh the liner at least twice daily, because a dirty environment can cause rapid irritation and infection. Keep the holding box calm and dark, and do quick, minimal handling during cleaning.
Is it worth weighing the hatchling, and how often should I weigh it?
Weighing is helpful, but keep it simple and consistent. Weigh once each morning at the same time and before the first feeding, using the smallest scale that can measure the bird accurately. A small daily gain and normal crop emptying are better indicators than trying to target an exact weight number.
If the hatchling seems to be declining, when should I stop home care and call urgently?
Limit handling to what is necessary, but do not skip assessment. If the bird is declining (less responsive, stopping the begging reflex, sunken eyes once open, or labored breathing), you need professional help right away. Use warmth and a quiet box for stability between calls, and prepare a detailed description for triage.
Next Article
How to Hatch a Robin Bird Egg: Humane Steps and Incubation
Humane guide to assess a robin egg, return it to nest, or safely incubate with correct temperature, humidity, and hatch