If you've found small bird eggs and the parents are clearly gone, your instinct to help is understandable. But before you set up any incubator, there are a few things you need to know: wild bird eggs are legally protected in most countries, successful hatching at home is genuinely difficult, and the hatchling's best chance of survival almost always involves a licensed wildlife rehabilitator rather than a kitchen countertop setup. That said, this guide walks you through the full process, from confirming the eggs are truly orphaned to the moment a chick breaks through the shell, so you can make informed decisions and act in the bird's best interest.
How to Hatch Small Bird Eggs: Incubation Guide and Timeline
Marcus Holloway
22 Apr 2026
Before you incubate: legality, ethics, and confirming the eggs are truly orphaned
The most important step happens before you touch anything. In the UK, the Wildlife and Countryside Act 1981 protects all wild birds and their eggs. Intentionally taking or destroying a wild bird's egg without a licence is a criminal offence that can carry an unlimited fine or a custodial sentence. The RSPCA explicitly advises not to touch or move eggs, even with good intentions, because doing so may break the law. In the US, the Migratory Bird Treaty Act covers most native species, and states like Florida require a Wildlife Rehabilitation permit for any care beyond immediately transporting an animal to a licensed rehabilitator. Before you do anything, check the laws in your specific region.
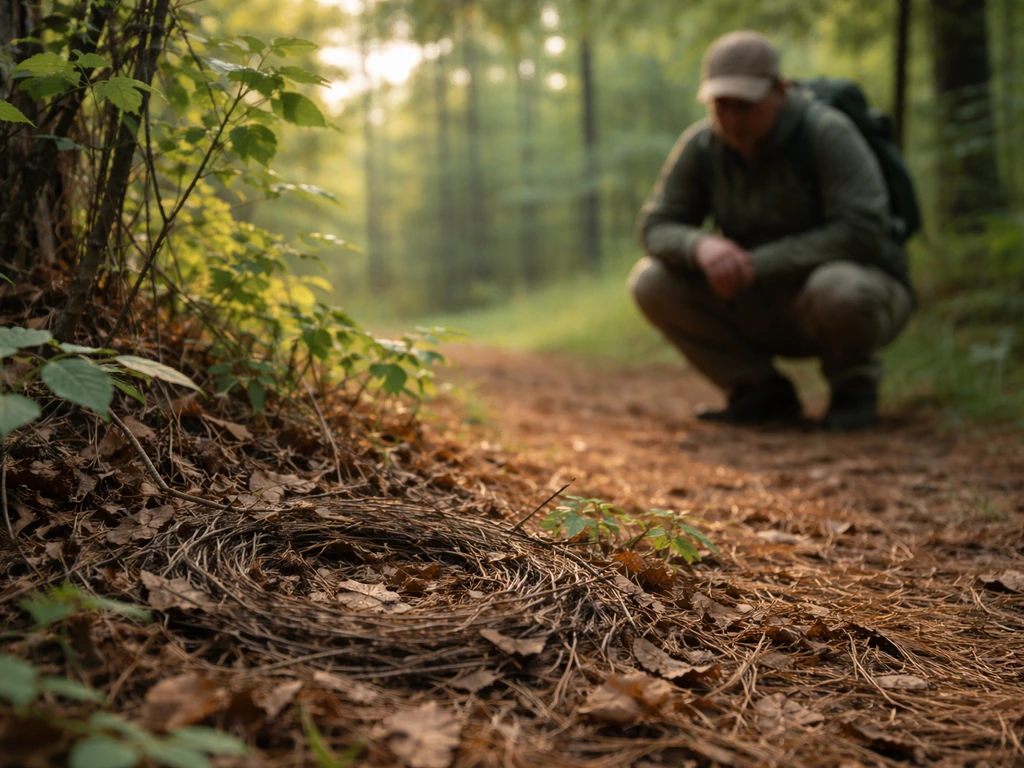
Now, confirm the eggs are actually abandoned. Birds can leave a nest for hours without the eggs being orphaned, and you may simply be observing a gap between feeding visits. NestWatch recommends waiting about four weeks from the last time you observed an adult at the nest before concluding it's abandoned, because incubation may not have begun yet when you first noticed the nest. A more practical field rule: if you have not seen a parent return to the eggs within four to eight hours of continuous, non-intrusive observation, the eggs may genuinely be unattended. Cooling eggs, a destroyed or fallen nest, or a dead parent nearby are clearer signs that intervention is needed.
Even then, re-nesting is almost always preferable to incubating. If the original nest is intact and reachable, carefully replace fallen eggs and step back. The idea that touching a bird's egg causes the parent to reject it is a myth. If re-nesting isn't possible and you're certain the eggs are abandoned, your very next call should be to a licensed wildlife rehabilitator or a wildlife hotline. Many rehab centers, including the Wildlife Care Association, will accept orphaned wild bird eggs. They have the equipment, permits, and expertise that dramatically improve the odds. Cornell Lab's All About Birds notes honestly that many centers can't always take eggs due to demand, but it's still worth calling before attempting anything yourself.
One more hard truth worth knowing upfront: even with perfect incubation, Cornell Lab notes that hatchlings from abandoned wild eggs can suffer from developmental deformities, and the Toronto Wildlife Centre states directly that you should never attempt to incubate abandoned eggs yourself. If you are in a situation where no professional help is reachable and the eggs would otherwise die, the steps below can help. But they are a last resort, not a first option.
Incubator setup for small eggs: temperature, humidity, airflow, and safe egg placement
If you've confirmed the eggs are abandoned, no professional help is immediately available, and you're proceeding with incubation, setup matters enormously. Small songbird and passerine eggs are much more sensitive to temperature swings than chicken eggs, so an accurate, stable incubator is not optional. A forced-air incubator (one with an internal fan) gives more consistent results than a still-air model. Brinsea's Mini II Advance is a common choice for small clutches, but any forced-air unit with a reliable digital thermostat will work.
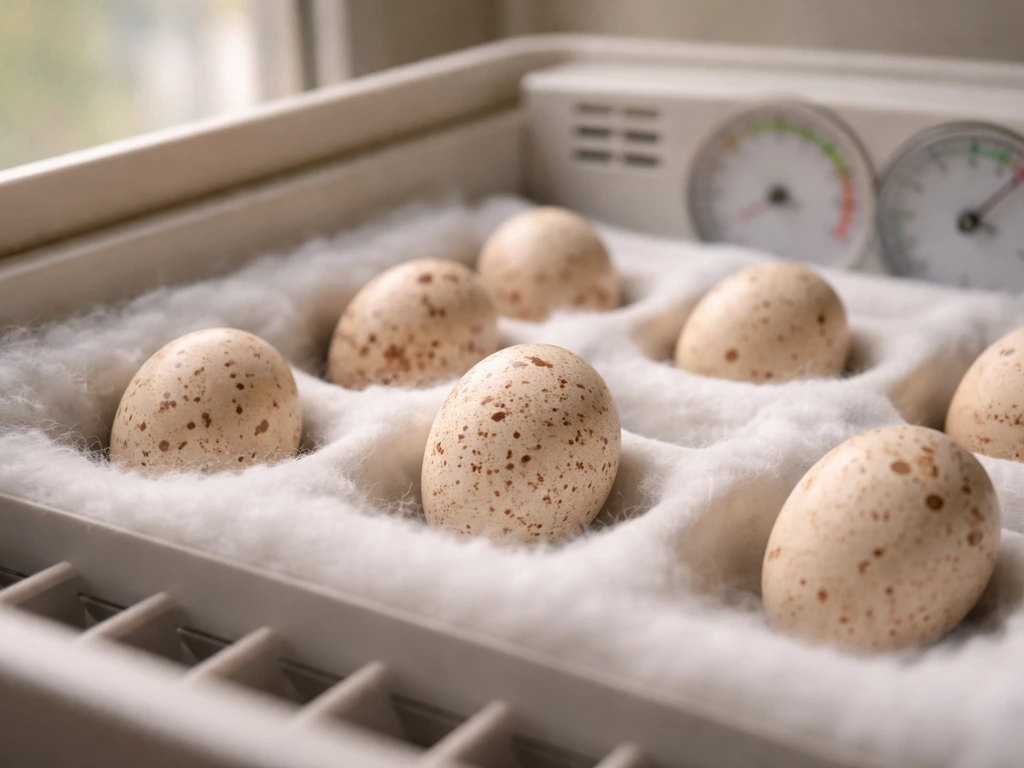
For most small wild bird eggs, target an incubator temperature of 99.5°F (37.5°C) in a forced-air unit. Still-air incubators run a couple of degrees warmer, around 101–102°F (38.3–38.9°C), measured at the top of the egg. Even a sustained deviation of one or two degrees in either direction can interfere with normal embryo development, so check your thermometer calibration before you start. Mississippi State University Extension emphasizes that improper temperature control, too high or too low for too long, disrupts normal development and can cause embryo death.
Humidity is the other critical variable. During most of incubation, aim for a relative humidity of around 50–55%. In the final two to three days before hatch (called lockdown), raise humidity to 65–70% to help the chick break free of the membrane without it drying out and sticking. A small digital hygrometer inside the incubator is worth having. Brinsea's handbook notes that inadequate ventilation is a common contributor to hatch failures, so keep the incubator vents open, especially in the later stages when the developing embryo needs more oxygen.
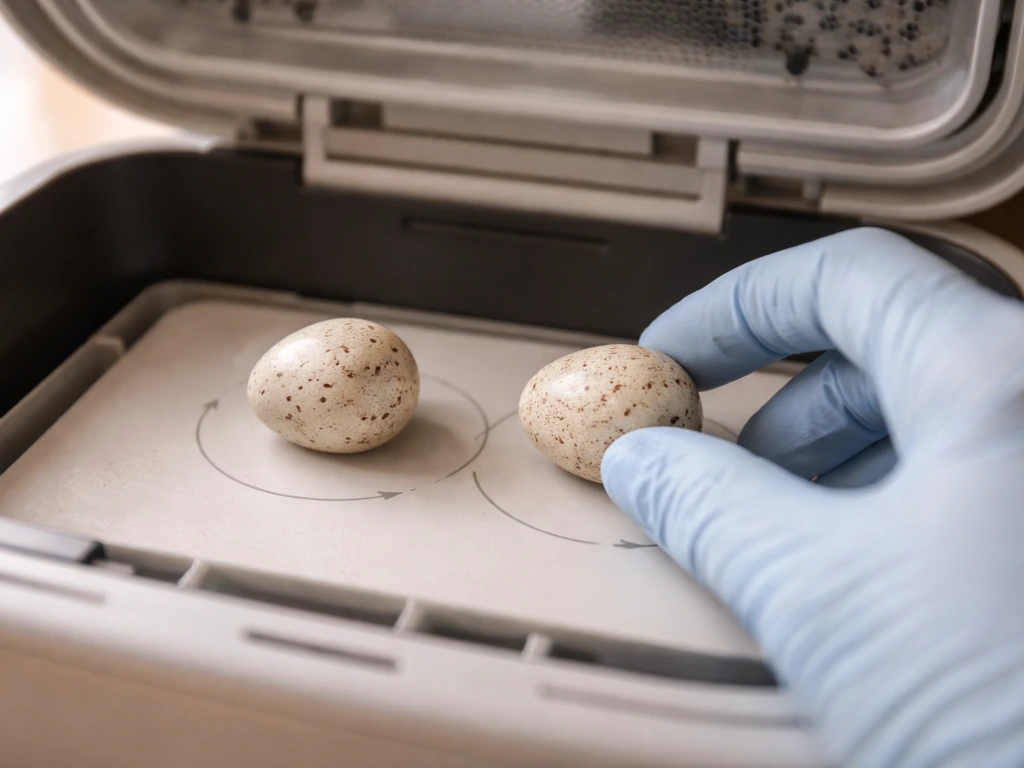
For egg placement, lay small eggs on their sides rather than upright if your incubator tray allows it. If your incubator has pockets or a disc-style tray and the egg tends to rest with the pointed end up, rotate it so the blunt end faces up instead. The air cell in the egg sits at the blunt end, and keeping it correctly oriented matters for the chick's positioning before hatch.
Handling and turning: how to orient eggs and how often (and when to stop)
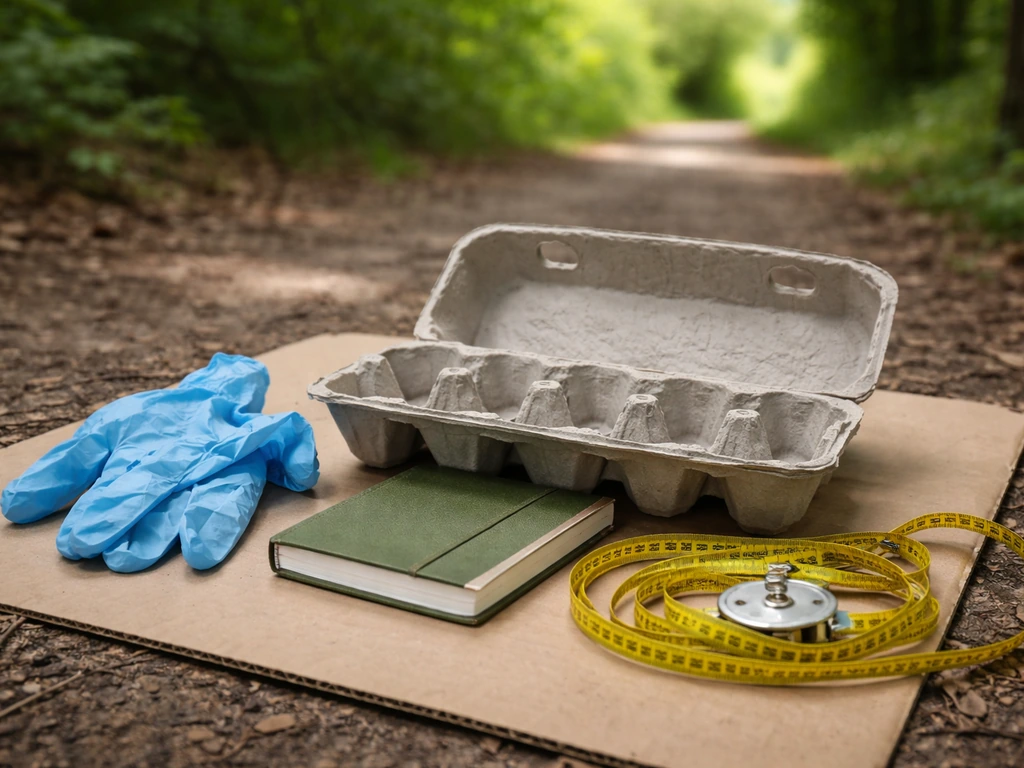
Turning eggs prevents the embryo from sticking to the shell membrane, which is one of the most common causes of developmental failure. Mississippi State University Extension recommends turning eggs at least four to six times per day throughout most of incubation. If you're turning by hand, spread the turns out evenly across your waking hours, roughly every three to four hours. Mark one side of each egg with a small pencil X so you can track which way it's been turned.
An automatic turning incubator removes human error from this step and is worth the investment if you're serious about giving the eggs a real chance. When turning manually, handle eggs gently and briefly. Wash your hands first, avoid squeezing, and minimize the time the eggs spend outside the incubator. Every minute outside is a temperature drop.
Stop turning the eggs two to three days before the expected hatch date. This is called lockdown. Brinsea's guidance is clear on this point: stopping turning allows the chick to position itself correctly, with its head tucked toward the air cell at the blunt end, ready to pip. Continuing to turn after this point can disorient the chick and cause it to pip in the wrong position, which is often fatal. Mississippi State University Extension echoes this, advising not to turn eggs in the final three days. During lockdown, also stop opening the incubator unnecessarily, because every time you open the lid you drop humidity right when the chick needs it most.
Monitoring viability: candling basics, recognizing problems, and troubleshooting
Candling is how you check whether an embryo is developing without cracking the egg open. You hold a small, bright light (a phone torch works in a dark room, a dedicated candler works better) against the blunt end of the egg and look for internal structures. Brinsea recommends starting candling from day 7 of incubation. Before that, the embryo is too small to reliably see anything useful, and handling the eggs more than necessary increases risk.
At day 7 in a fertile egg, you should see a dark spot (the embryo) with visible red blood vessels branching outward, sometimes described as a spider shape. A clear egg with no visible structures is likely infertile or has failed very early. A dark, fully opaque egg with no visible air cell is a blood ring or a dead embryo and should be removed from the incubator so it doesn't contaminate viable eggs. Small eggs are harder to candle than large ones because the shell is thinner but the interior fills quickly.
Keep candling sessions short, under 30 seconds per egg, and do them quickly. Common problems and what they usually mean:
- Clear egg at day 7 or later: likely infertile or very early failure. Remove it.
- Blood ring (dark ring visible, no branching vessels): embryo died shortly after development started. Remove it.
- Dark mass with no visible air cell: late-stage death or decomposition. Remove it carefully.
- Normal air cell but chick seems slow to develop: check temperature accuracy and increase slightly if consistently low.
- Oversized air cell: humidity is too low. Increase water in the incubator.
- Undersized air cell: humidity is too high. Reduce water and open vents slightly.
Brinsea's incubation handbook lists malformations linked to inadequate turning, temperature extremes, and poor ventilation as the main causes of late-stage failures. If you're seeing multiple infertile or failed eggs, revisit your temperature calibration and turning routine before concluding the situation is hopeless.
Timeline and what to expect: hatch window, signs of readiness, and avoiding interference
Small songbird eggs typically incubate for 11 to 14 days, though this varies by species. Finch and wren eggs are on the shorter end; sparrows and similar passerines average around 12 to 13 days. Robin eggs take about 14 days. If you are trying to hatch a robin egg, you will want to plan your incubation and readiness checks around that timing Robin eggs take about 14 days. If you don't know the species, assume 12 to 14 days as a working estimate. NestWatch notes that hatch timelines can vary and advises allowing four weeks from the last observed adult activity to account for possible delays in incubation start.
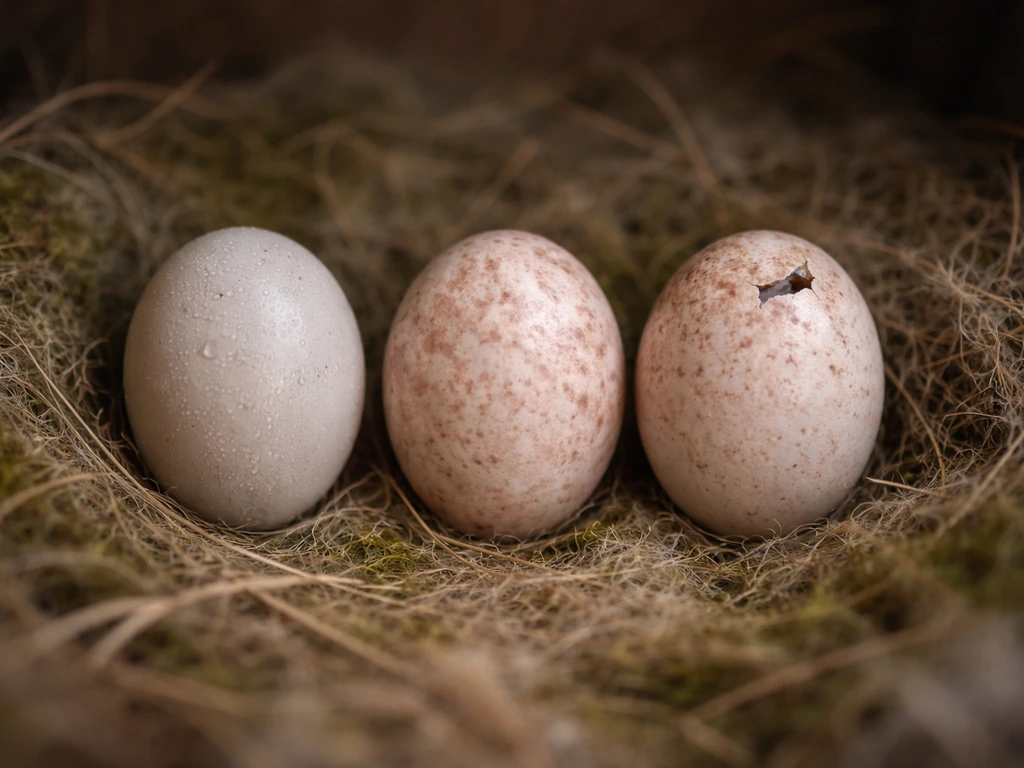
The first sign that a chick is ready to hatch is pipping: a small crack or hole appears in the shell, usually near the blunt end. You may also hear faint chirping or tapping from inside the egg before external pipping happens. This internal pipping can start 12 to 24 hours before the chick breaks through. After external pipping, hatching can take anywhere from a few hours to around 24 hours in small species. The process can look alarmingly slow, but this is normal.
The most important thing you can do during hatching is resist the urge to help. A chick that is taking a long time to hatch is usually resting between bursts of effort, building strength. If you crack the shell open to assist, you will almost certainly sever blood vessels in the membrane that haven't fully retracted, and the chick will bleed out. The only exception is a chick that has been externally pipped for more than 24 hours with no further progress and you can see the membrane has dried and shrunk around it. In that case, professional help is urgently needed rather than DIY intervention.
After hatch care overview: keeping hatchlings warm and secure, and when to transfer to a rehabilitator
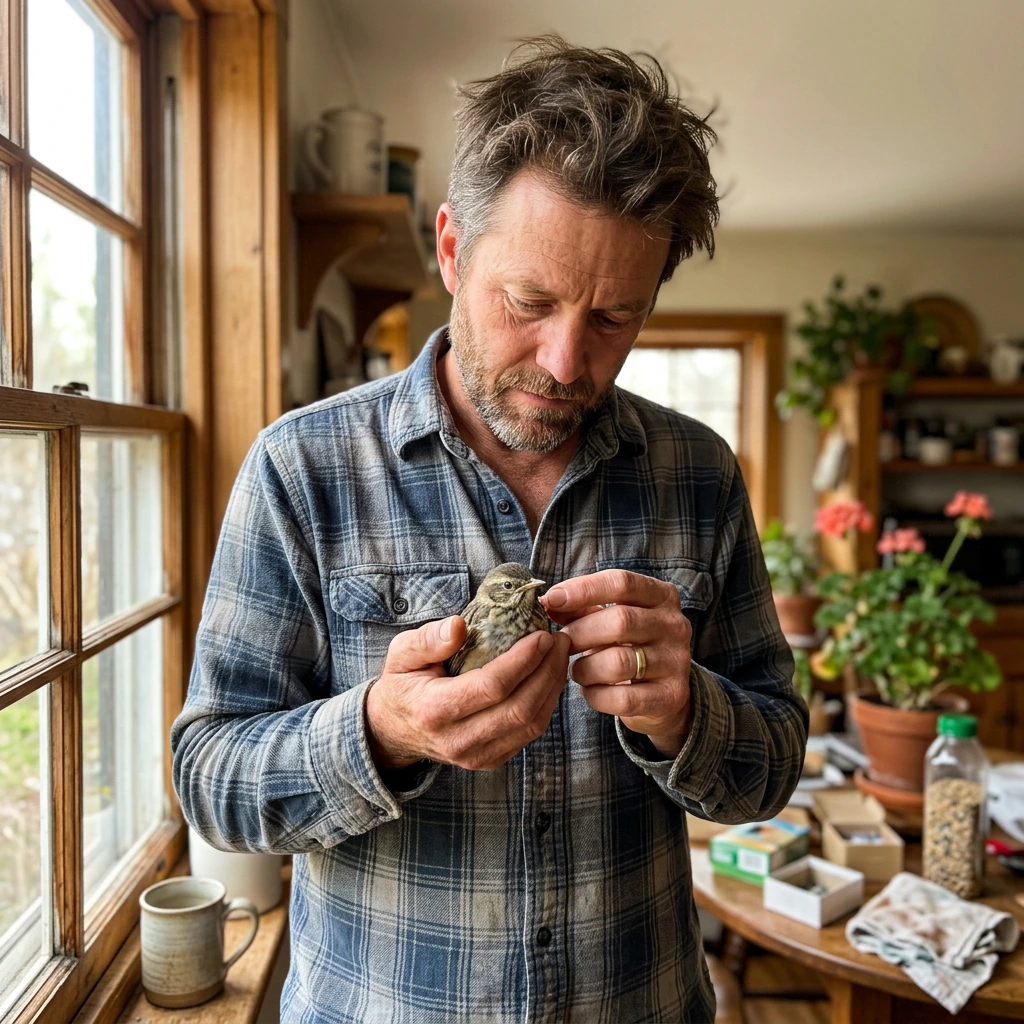
A newly hatched wild bird is one of the most fragile things you'll ever handle. It cannot regulate its own body temperature, it needs species-specific feeding every 15 to 30 minutes during daylight hours, and getting that feeding wrong can kill it quickly. This is not pessimism; it's why the immediate priority after a successful hatch is getting the chick to a licensed wildlife rehabilitator as fast as possible.
In the hours before you can make that transfer, keep the hatchling warm. A small cardboard box lined with a soft cloth or paper towels, placed on a heating pad set to low (with a cloth buffer between pad and box so the chick can move off the heat if needed), works as a temporary brooder. Target around 95–99°F (35–37°C) for a newly hatched altricial chick. Do not feed the chick. The Houston SPCA and most wildlife care organizations explicitly advise against giving food or liquids to rescued wildlife unless you are trained to do so. Incorrect feeding causes aspiration, bloating, and nutritional deficiencies that can be worse than temporary hunger.
Keep the box in a quiet, dark place away from pets, children, and loud noise. Stress alone can kill a hatchling. The Raptor Trust emphasizes taking any rescued nestling or hatchling to a licensed rehabilitator as soon as possible. Even if the chick looks stable, this is not a situation where waiting a day or two to see how things go is a safe option.
When to get professional help: urgent red flags and humane next steps
There are situations that require you to stop what you're doing and call for help immediately. Do not try to troubleshoot these alone:
- A chick has been externally pipped for more than 24 hours with no further progress.
- A chick hatched but appears limp, cold, or unresponsive.
- A hatchling is bleeding or has visible injuries from a difficult hatch.
- You suspect your incubator had a temperature failure during a critical period.
- A hatchling is gasping, clicking when breathing, or has its beak open continuously.
- You cannot identify the species and therefore can't estimate the correct care needs.
- You are in a region where keeping wild bird eggs or hatchlings without a permit is illegal and you have not yet contacted authorities.
To find professional help, search for a licensed wildlife rehabilitator in your area. In the US, the National Wildlife Rehabilitators Association (NWRA) and the National Wildlife Federation both maintain directories. In the UK, the RSPCA and Wildlife Care Association are good first contacts. Your local veterinary clinic may also be able to refer you or provide emergency stabilization.
Sialis.org puts it plainly: only a licensed rehabber is legally allowed to raise a wild bird. Even a successful hatch doesn't mean you're equipped to see the bird through to independence. Imprinting, diet, and flight conditioning are all things that trained rehabilitators manage carefully to give the bird a real chance of surviving in the wild. Getting the chick to that person is the most useful thing you can do.
If you're also dealing with a situation involving hatchlings already out of the egg rather than unhatched eggs, the guidance on how to raise a hatchling bird and how to hatch a wild bird egg covers those specific scenarios in more detail. If you want a step-by-step walkthrough of what to do after the chick hatches, see our guide on how to raise a hatchling bird.
If you're also dealing with a situation involving hatchlings already out of the egg rather than unhatched eggs, this guidance on how to hatch a wild bird egg covers those specific scenarios in more detail. If you are working with an unhatched clutch, the same restraint and professional-first approach applies to learning how to hatch bird eggs at home safely.
The core advice stays the same: act quickly, minimize stress, keep the animal warm, and connect with a professional as fast as you can.
FAQ
I found small bird eggs, but I am not sure they are abandoned. How long should I wait before concluding I should act?
Look up the exact legal status for your location before you do anything, because many places treat wild bird eggs as protected even if you found them. If you cannot identify the species, contact a wildlife hotline or licensed rehabilitator and tell them where you found the nest, what species is likely, and when you last saw adult birds nearby.
Can I clean small bird eggs before incubating them?
Do not wash eggs. For small wild eggs, washing can remove protective coatings and increase the chance of introducing bacteria. If you see debris, gently remove only loose dirt with a dry, clean technique, then place them back promptly, and avoid frequent handling.
What is the most common equipment-related mistake people make when trying to hatch small bird eggs?
Use the incubator thermometer and hygrometer readings to guide decisions, not the room temperature. If you do not have calibrated instruments, you can end up slowly overheating or chilling the embryo. A simple calibration check with a known-accurate thermometer before you start reduces the most common “mysterious failure” cause.
Can I hatch small bird eggs in a still-air incubator instead of forced-air?
Still-air incubators can be more variable for small passerine eggs because temperature stratification is harder to control. If you must use still-air, you need tighter temperature monitoring at the egg level and more frequent checks, and success rates are typically lower. In general, forced-air plus a reliable digital thermostat is the safer bet.
How do I know which end is the blunt end, and what if I am unsure about egg orientation?
If you are unsure about orientation, assume the air cell is at the blunt end, and aim for the blunt end facing up or toward the higher point in the tray as your setup allows. Do not repeatedly flip the eggs to “see what happens,” orientation changes late in incubation can disrupt the chick’s positioning.
Should I spray or mist small bird eggs to raise humidity?
You should not mist eggs routinely. Humidity targets are for the incubator environment, and adding water droplets can cool the egg and create wet spots that worsen ventilation problems. Adjust humidity using the incubator method (water tray settings or controlled humidification) and only open the incubator when necessary.
How should I time candling sessions so I do not accidentally harm the embryos?
Plan the candling schedule so that each session is brief, and use the same handling routine each time. If you cannot maintain a consistent 30-second-per-egg limit, postpone the candling date rather than rushing, because longer exposure increases cooling and reduces the chance of accurate interpretation.
If some eggs look infertile during candling, when should I stop and troubleshoot instead of continuing?
Remove non-viable eggs as soon as you are confident based on candling signs, but do not keep candling indefinitely if most eggs are failing. If you see repeated patterns like uniformly clear or opaque eggs, stop and re-check temperature calibration, turning frequency, and ventilation before making any more changes.
What if the chick pips but takes a long time to hatch, when does it become an emergency?
Yes, delayed hatching can happen, but the key decision point is progress after external pipping. If a chick has externally piped for more than about 24 hours with no further advancement and the membrane appears dried and contracted, that is the “urgent professional” window, not a time for opening the shell yourself.
What should I do in the first hours after hatching if I cannot reach a rehabilitator immediately?
Do not feed or give water unless you are trained and authorized, and the “do nothing but keep it warm and calm” approach is safest for most people. A temporary warm brooder is fine until you can transfer to a rehabilitator, but feeding attempts can cause aspiration and rapid decline.
Should I adjust temperature or humidity during lockdown to “help” the hatch?
Do not move the incubator settings during lockdown unless something is clearly wrong, like a device failure that makes humidity or temperature unusable. Sudden changes increase variability right when the chick is positioning for pipping, and small eggs are especially sensitive.
After a successful hatch, is it enough to keep the chick warm at home until it is stronger?
Even if the chick seems stable, prioritize transfer. Many rehab centers also want to assess dehydration, leg or beak alignment, and any late embryo issues that are not obvious externally. The safest next step is to contact a licensed rehabilitator immediately after hatching, then follow their instructions for transport and containment.
Next Article
How to Hatch a Wild Bird Egg: Humane Step by Step Guide
Humane, step-by-step how to hatch a wild bird egg: legality checks, egg handling, incubation, and chick feeding