Yes, you can incubate a bird egg yourself, but whether you should depends heavily on where that egg came from, what species it belongs to, and what resources you have on hand. The short version: if the egg is from a domestic or pet bird (a chicken, duck, quail, parrot, or pigeon you own), DIY incubation is absolutely reasonable and this guide will walk you through every step. If the egg is from a wild bird, the situation is much more complicated, legally and practically, and in many cases handing it off to a licensed wildlife rehabilitator is the right call.
How to Incubate Bird Eggs Safely: A Step-by-Step Guide
Marcus Holloway
3 Apr 2026
Should you even be incubating this egg?
Before you do anything else, ask yourself three questions: Is this egg from a wild bird or a bird you own? Is the egg actually viable (recently laid, uncracked, not obviously decomposed)? And do you have the right setup to maintain stable conditions for potentially weeks?
If you own the bird that laid the egg, and the parent bird has abandoned it or you're raising poultry or pet birds, incubating the egg yourself makes complete sense. Follow the step-by-step process below.
If the egg came from a wild nest, pause. Before anything else, check whether the nest is intact and reachable. A bird egg that has simply fallen from an accessible nest should, whenever possible, be returned rather than removed. Moving bird eggs safely is possible in many cases, and returning an egg to its nest is almost always better for the egg than DIY incubation. Mother birds do not reject eggs because a human touched them.
If the nest is destroyed, the parent is dead, or the egg truly cannot be returned, contact a licensed wildlife rehabilitator before attempting incubation yourself. They have the permits, species-specific knowledge, and equipment to give the egg the best possible chance. You can find the nearest qualified rehabilitator through resources like AnimalHelpNow, or by calling a local veterinarian, humane society, or your county wildlife agency.
Wild bird eggs: the legal side matters
This part is important and non-negotiable. In the United States, the Migratory Bird Treaty Act makes it illegal to possess the eggs of most wild native bird species without a federal permit. In the United States, federal regulations under the Migratory Bird Treaty Act limit how migratory bird parts, nests, or eggs may be possessed, transported, or handled, including restrictions on selling or trading Migratory Bird Treaty Act makes it illegal to possess the eggs of most wild native bird species without a federal permit. In the UK, the RSPB and RSPCA both state clearly that it is illegal to take or destroy the egg of any wild bird. Similar protections exist across Canada, Australia, and most of Europe.
That means if you find a wild bird egg and bring it inside to incubate, you could be breaking the law even if your intentions are good. The practical solution is to contact a licensed wildlife rehabilitator as quickly as possible. They operate under permits that allow them to handle these eggs legally and have experience with species-specific incubation needs that you simply won't be able to replicate at home.
If you're in a genuine emergency and can't reach a rehabilitator immediately, keep the egg warm, limit handling, and keep trying to reach help. Think of whatever you're doing at home as temporary stabilization, not a long-term solution.
Beyond legality, there's a real welfare issue. Wild bird species have wildly different incubation requirements. A killdeer egg and a robin egg need different temperatures, turning schedules, and humidity levels. Getting it wrong doesn't just result in a failed hatch; it can cause developmental problems in the chick. That's why wild eggs genuinely need professional care whenever possible. If you're caring for an egg and are unsure what you're dealing with, learning how to take care of bird eggs properly for the specific situation will make a significant difference in the outcome.
How to incubate bird eggs: the step-by-step process
The following process applies primarily to domestic and pet bird eggs. If you're dealing with a wild egg in an emergency and a rehabilitator isn't immediately reachable, you can use these steps as a temporary holding strategy while continuing to seek professional help.
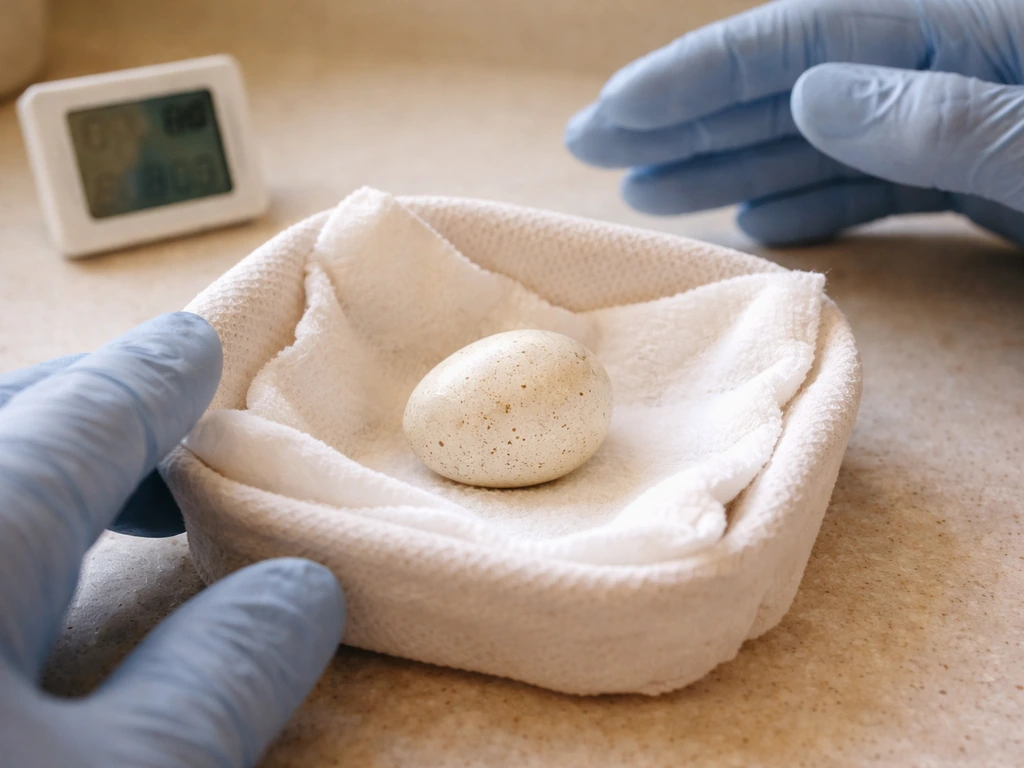
- Source or set up an incubator (or build a temporary alternative if needed) and let it stabilize at the correct temperature and humidity for at least a few hours before placing the egg inside.
- Mark the egg lightly with a pencil on one side (an X on one side, an O on the other) so you can track turning rotation.
- Place the egg in the incubator with the pointed end slightly downward or on its side, depending on your incubator type.
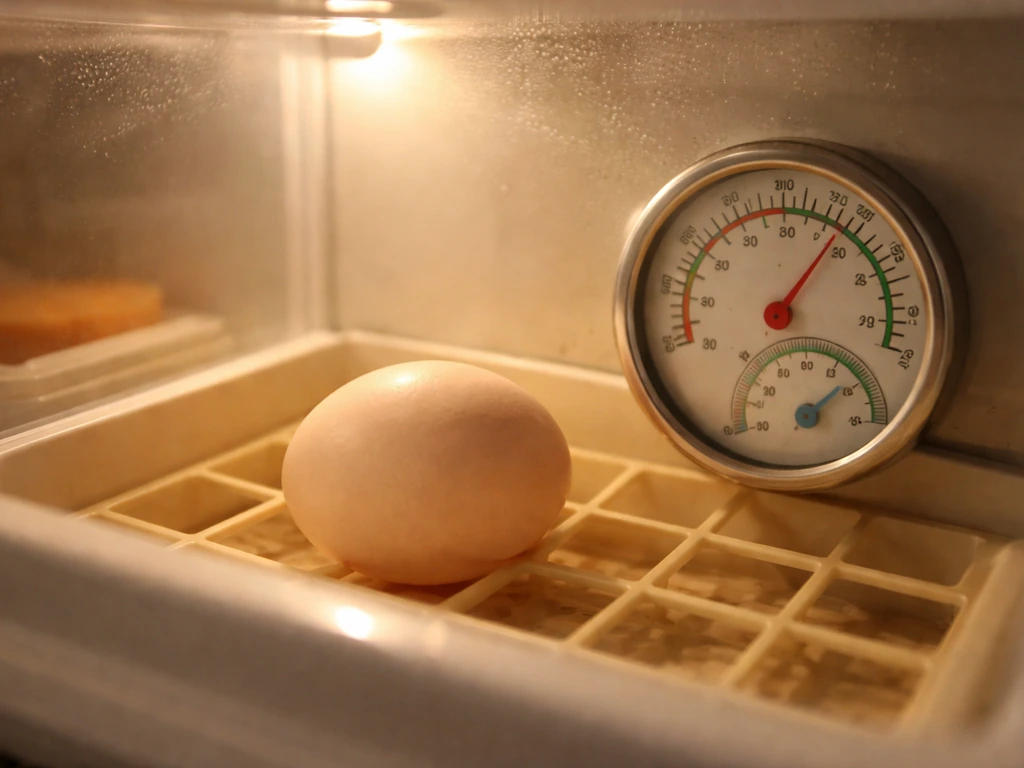
- Maintain temperature and humidity within the target ranges for your species (see the environmental targets section below).
- Turn the egg at least 3 times per day (an odd number of turns so the egg spends alternate nights on different sides) until 3 days before the expected hatch date.
- Candle the egg around days 7 and 14 to check for development and remove any non-viable eggs promptly.
- Stop turning the egg 3 days before the expected hatch and increase humidity (the 'lockdown' period).
- Allow the chick to hatch on its own without assistance unless you're certain it is in genuine distress after being fully externally pipped for more than 24 hours.
- Once the chick has hatched and dried, assess whether it needs immediate warmth, feeding support, or veterinary attention.
The environmental targets: temperature, humidity, turning, and ventilation
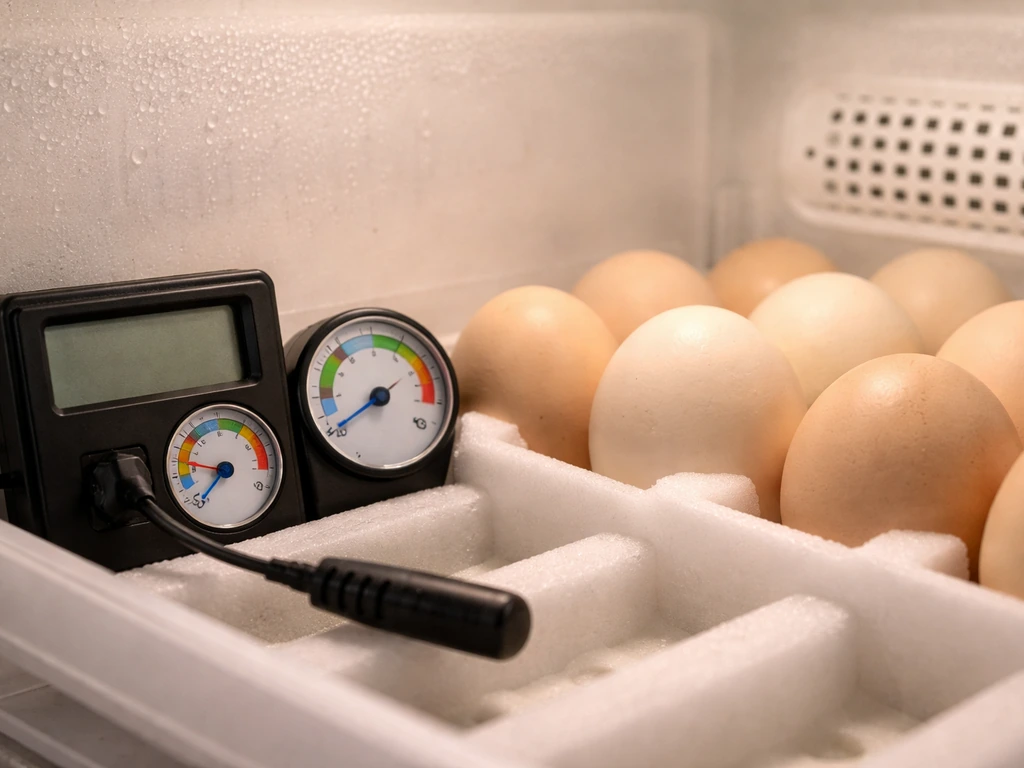
Getting the environment right is the single most important thing you can do. Even small deviations maintained over days can kill a developing embryo or cause deformities. Here are the core targets for common bird types:
| Bird Type | Incubation Temp (°F) | Humidity (Incubation) | Humidity (Last 3 Days) | Incubation Period |
|---|---|---|---|---|
| Chicken | 99.5°F (forced air) / 101–102°F (still air) | 50–55% | 65–70% | 21 days |
| Duck | 99.5°F (forced air) | 55–60% | 75% | 28 days |
| Quail (Coturnix) | 99.5°F (forced air) | 45–50% | 65–70% | 17–18 days |
| Parrot (varies by species) | 98–99°F | 50–60% | 65–70% | 18–30 days (species-dependent) |
| Pigeon / Dove | 99–99.5°F | 50–55% | 65–70% | 17–19 days |
For wild bird eggs, these ranges won't necessarily apply. Species-specific data is required, which is another reason professional help is so important for wild eggs.
Turning
Turn eggs at least 3 times per day, ideally 5 times, until 3 days before the hatch date. Turning prevents the developing embryo from sticking to the shell membrane and mimics what a parent bird would do naturally. Automatic egg turners in commercial incubators handle this for you, which is one of the biggest advantages of using proper equipment. Stop turning entirely during the last 3 days (lockdown period) so the chick can position itself for hatching.
Ventilation
Developing eggs need a steady supply of fresh air. Commercial incubators have ventilation holes built in; make sure you don't block them. If you're using a DIY container, provide small air holes (roughly 1/4 inch diameter) near the top of the container. Stale air causes carbon dioxide to build up inside the shell and can kill the embryo.
Candling
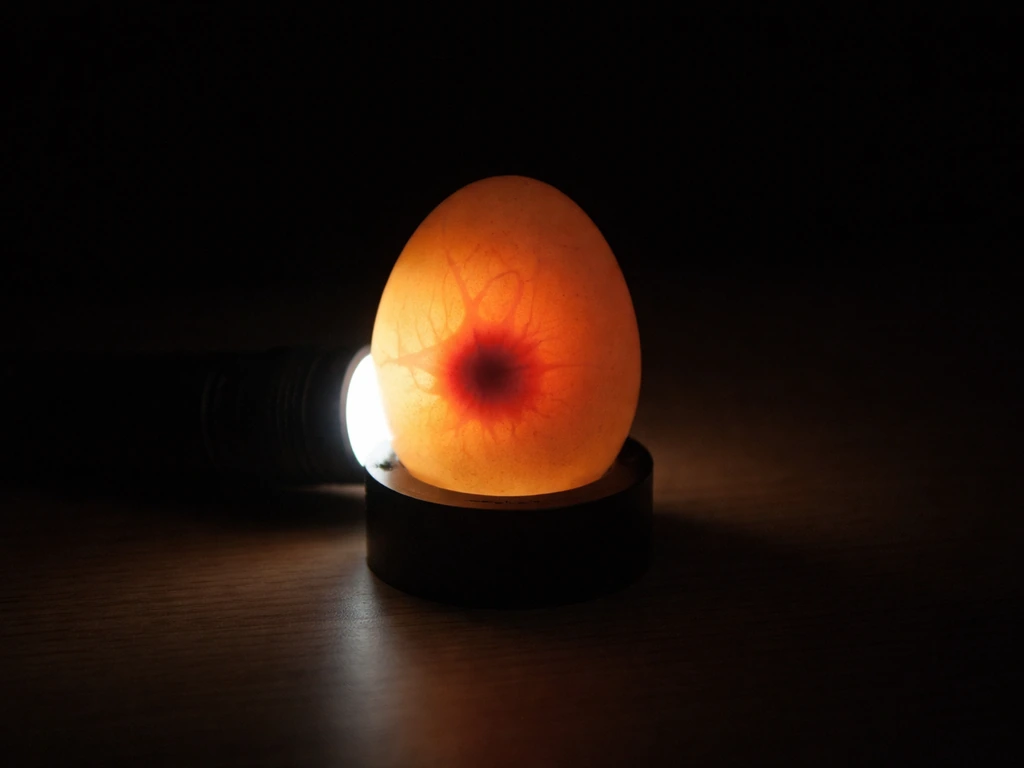
Candling means shining a bright, focused light through the egg in a dark room to see what's happening inside. At around day 7, a viable egg will show a dark spot (the embryo) with visible blood vessels radiating outward. By day 14, the air cell at the blunt end will be clearly visible and the interior will be mostly dark with a moving embryo. Candling a bird egg correctly can also reveal if an egg has died (called a "dead in shell" or "quitter"), which will show a blood ring or a dark, non-moving mass with no visible blood vessels. Remove non-viable eggs promptly to prevent them from contaminating the others.
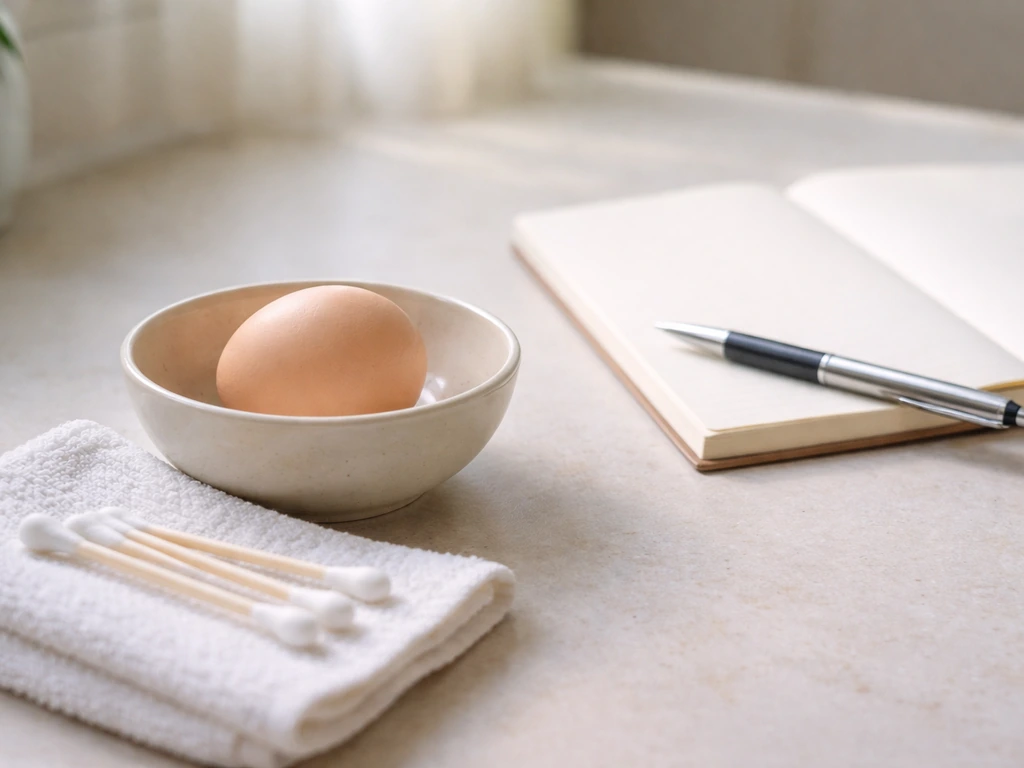
Incubator vs. DIY: which setup should you use?
A proper incubator is always the safer, more reliable option. Entry-level forced-air incubators with a built-in automatic turner are widely available for $30 to $100 and maintain temperature within a fraction of a degree. They take the guesswork out of humidity and turning, which are the two areas where DIY setups most often fail.
That said, if you're in an emergency and can't get a proper incubator immediately, a temporary DIY setup can buy you time. A clean plastic storage container with a lid, a small lamp or heat mat, a thermometer/hygrometer, and a shallow dish of warm water can hold an egg stable for a short period. The risks are real though: temperature swings, incorrect humidity, and poor ventilation can all harm the embryo. A DIY setup should be a bridge to professional help or proper equipment, not a long-term incubation strategy.
| Feature | Commercial Incubator | DIY Setup |
|---|---|---|
| Temperature stability | High (within 0.1–0.5°F) | Low to moderate (swings likely) |
| Humidity control | Adjustable, consistent | Difficult to maintain accurately |
| Automatic turning | Available on most models | Must be done manually |
| Ventilation | Built-in | Must be manually added |
| Cost | $30–$100+ for basic models | Near zero (materials on hand) |
| Recommended for | All incubation situations | Emergency stabilization only |
If you're regularly dealing with eggs from backyard poultry or pet birds, a basic forced-air incubator with an automatic turner is worth every penny. The peace of mind alone is worth it.
Hatch day: what to expect and what to do
Knowing when the hatch is near
Around 1 to 3 days before hatch, you may hear faint peeping or tapping sounds coming from inside the egg. This is the chick using its egg tooth (a small temporary protrusion on the beak) to start breaking through the inner membrane. This first breakthrough into the air cell is called "internal pipping." The next stage is "external pipping," where a small crack or hole appears on the outside of the shell.
During this period (called lockdown), raise humidity to the levels listed in the table above and stop opening the incubator. Every time you open it, humidity drops sharply, and the membranes inside the egg can dry out and trap the chick.
Let the chick do the work
Once external pipping has occurred, the chick will typically hatch within 12 to 24 hours. Do not help it out of the shell unless you're absolutely certain there's a problem. The hatching process is physically demanding for a reason: the struggle helps the chick absorb the remaining yolk sac and builds the strength it needs to survive. Opening the shell prematurely can cause serious bleeding and death. If a chick has externally pipped and hasn't made any progress after 24 hours, consult a vet or rehabilitator before intervening.
Right after the hatch
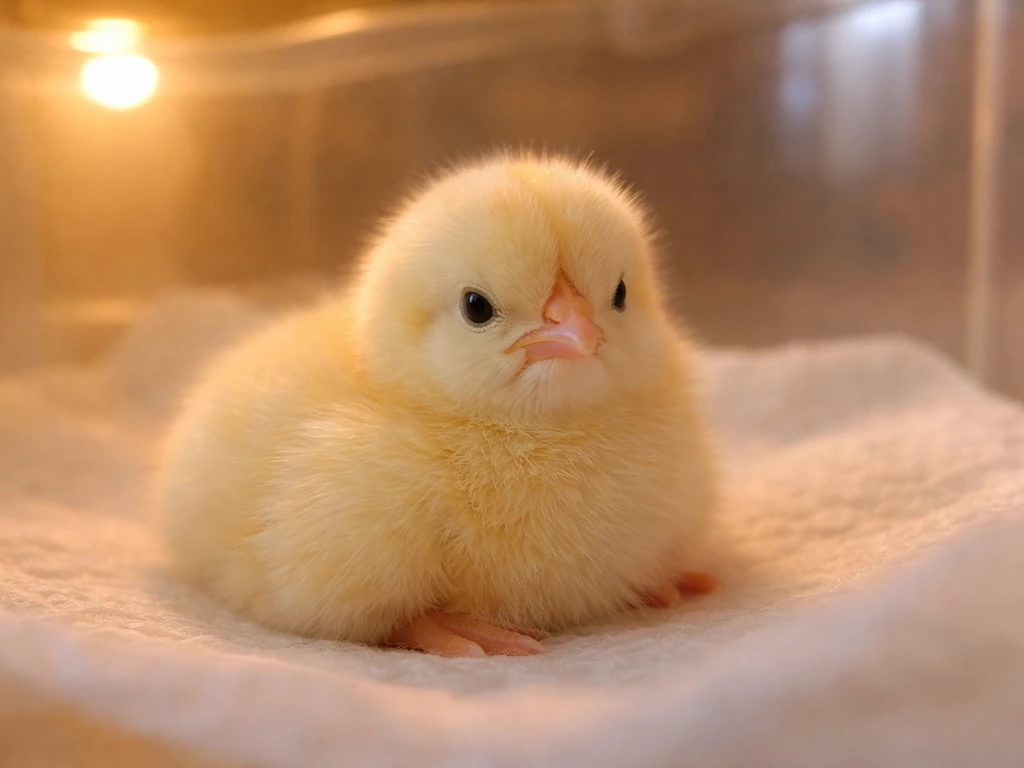
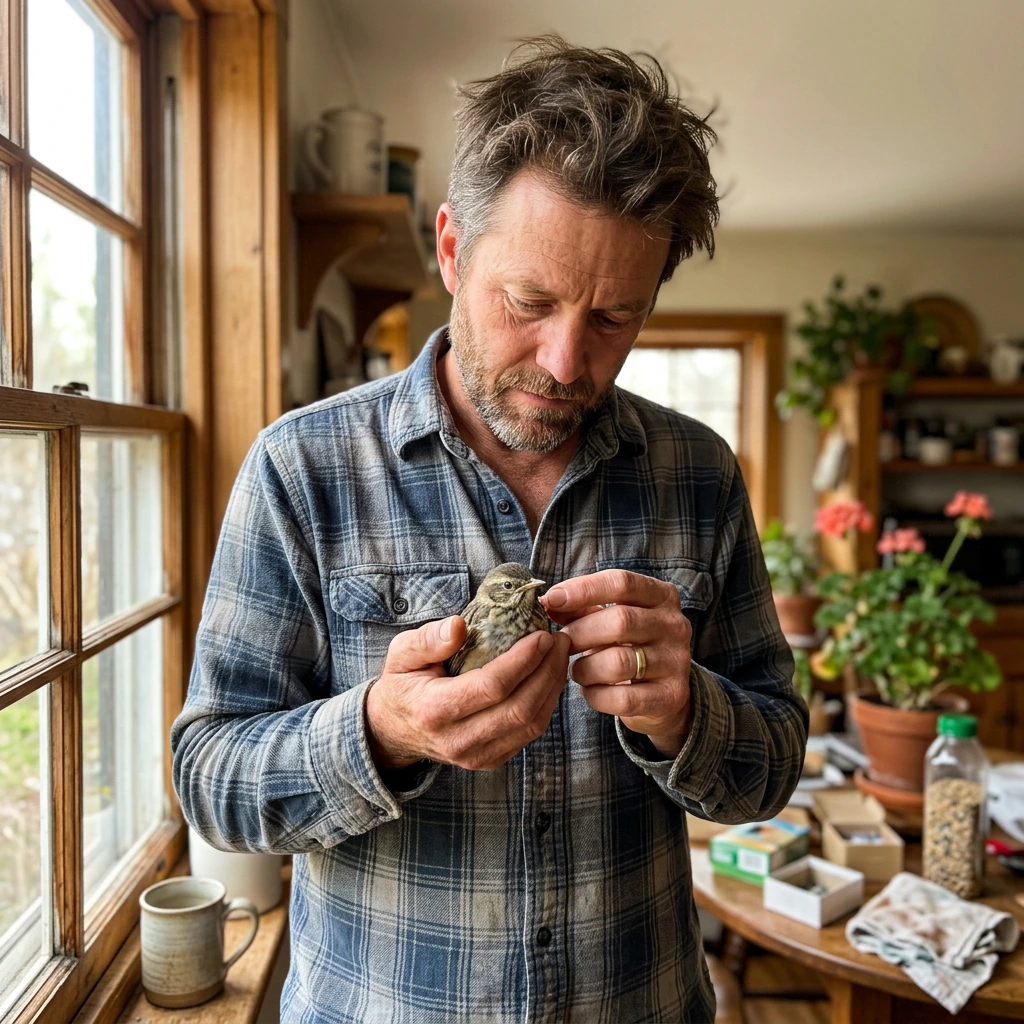
Leave the newly hatched chick in the incubator for several hours until it is dry and fluffy. A wet chick can chill quickly if moved too soon. Once it's dry, move it to a brooder set to around 95°F (35°C) for the first week, reducing by about 5°F each week as the chick grows feathers. Newly hatched chicks of most domestic species do not need to eat or drink for the first 24 to 48 hours because they're still absorbing the yolk sac. After that, species-appropriate starter feed and clean water should be available.
For wild bird hatchlings, do not attempt to feed them on your own. Wild chicks have precise nutritional and behavioral needs that vary by species, and the wrong food or feeding method can injure or kill them. Get them to a licensed rehabilitator as quickly as possible.
When the hatch doesn't happen
If the expected hatch date passes with no signs of pipping, wait an additional 2 to 3 days before concluding the egg has failed. Incubation timelines can vary slightly. Candle the egg again in a dark room: if you see no movement and the air cell hasn't changed, the embryo has likely died. A failed egg may also develop an unpleasant smell.
If you suspect an egg has died part-way through development (sometimes called "dead in shell"), it's worth understanding why for next time. Common causes include temperature spikes or drops, humidity too low during the hatch window, contamination, rough handling, or a non-viable egg from the start. In some cases, a deceased egg may need to be drained before disposal. The process of draining a bird egg safely is important to understand if you're dealing with a decomposed egg, since they can become pressurized and pose a contamination risk.
A note on egg-bound birds and where this fits in
If you're dealing with an egg that never made it out of the hen in the first place, that's a separate and urgent medical situation. A bird that is straining to lay, sitting fluffed and lethargic at the bottom of the cage, or has a visibly distended abdomen may be egg-bound and needs veterinary attention immediately. Understanding how to help an egg-bound bird is a different problem from incubation, but it's worth knowing about since both situations can arise unexpectedly.
The bottom line on DIY incubation
For domestic eggs, DIY incubation is practical and achievable with the right setup and attention to detail. Stable temperature and humidity, regular turning, proper ventilation, and periodic candling are the core requirements. Use a proper incubator if at all possible.
For wild bird eggs, the default answer should always be: contact a licensed wildlife rehabilitator first. Legal protections exist for good reasons, and the species-specific care requirements make home incubation a real gamble with a living creature's life. If you're in a genuine emergency and need to stabilize an egg while you make calls, do your best, but treat it as a temporary measure and keep advocating for professional help.
Whatever the situation, the goal is the same: give that egg the best possible shot at a safe hatch and a healthy life after. Knowing your limits and asking for help when needed is just as important as knowing the technical steps.
FAQ
How long can I hold a bird egg before I start incubating it?
Store an unincubated domestic egg short-term at about 55 to 60°F (13 to 16°C) with moderate humidity, and keep it loosely positioned (not constantly standing on one end) while you gather equipment. Use it as soon as possible because hatchability drops with time, and never refrigerate eggs after incubation has started since temperature swings can damage the embryo.
What if I have to pause incubation or start a few days later?
Yes, if the egg is viable and you maintain conditions, but only within short limits. If you need to delay, keep temperature lower than incubation temperature (cool but not cold), avoid frequent temperature cycling, and resume with stable settings immediately. Plan turning and lockdown timing based on the day you began incubation, not the day the egg was laid.
Can I turn eggs less often if I can’t manage the schedule?
The safest approach is to match the incubator’s built-in turn pattern. If you are turning by hand, keep the same direction each time and be consistent with timing, since irregular intervals can separate or stress the embryo. As a rule, aim for at least three turns per day, and stop completely during lockdown (last few days) so the chick can orient itself.
How often should I open the incubator or candle the eggs?
During incubation, avoid opening the incubator to “check” often. If you need to candle, do it quickly in a controlled room, and get the egg back on schedule immediately. A common mistake is leaving eggs out on the counter while you inspect them, which causes brief cooling that can be harmful even if it seems minor.
How do I adjust humidity if my readings keep changing?
Don’t use oil, sprays, or water misting to “raise humidity,” especially during the early stages. Instead, use the humidification method your incubator supports (water pan design, water level targets, and correct placement). For DIY setups, evaporation rates vary widely, so humidity readings from a hygrometer are essential.
How can I tell which eggs to remove, and when should I discard them?
A dead embryo can stop developing at any time, but if you see a blood ring, no vessel activity, or no movement on candling, remove that egg right away. Stale or decomposing eggs can increase contamination risk and can foul the incubator environment, reducing the odds for viable eggs.
What should I do if an egg is cracked or leaking?
If an egg is significantly cracked, leaking, or visibly deformed, incubating it typically becomes a poor-prognosis situation because the shell barrier is compromised. If you see a hairline crack only, assess whether the shell is intact and not wet inside before continuing, but still expect reduced hatch rates and increased hygiene needs (more frequent cleaning of the incubator).
When can I move a hatched chick to a brooder, and do I feed right away?
Most domestic chicks need a consistent warm brooder with gentle heat, good footing, and clean bedding. Avoid offering food immediately, even if they look hungry, since many absorb the remaining yolk sac for the first 24 to 48 hours. If a chick is weak, chilling, or not standing, focus on warming and contact an avian vet rather than trying to force-feed.
How do I know when it’s safe to help a chick during hatching?
Do not assist just because the process seems slow. Intervention is only considered when external pipping has occurred and there is clear lack of progress, or when you observe signs of distress. If you must seek help, contact an avian veterinarian or wildlife rehabilitator promptly, and do not peel away shell fragments, since bleeding can happen quickly.
If hatch doesn’t happen on time, what should I check before concluding it failed?
“No pipping” by the expected date can still turn out viable if the timeline is off. Instead of guessing, candle again at a reasonable additional window (as you would in the guide), look for changes in the air cell and movement, and consider egg viability and holding time. A strong smell or a blood-ring appearance usually indicates failure, not a delay.
What should I do if I find a wild bird egg that seems abandoned or fallen?
If a wild egg is intact and reachable, returning it to its nest is usually better than trying to incubate it indoors. If the nest is inaccessible or destroyed, prioritize contacting a licensed wildlife rehabilitator immediately, since species-specific incubation settings and legal permissions matter. In a true emergency, keep it warm, handle as little as possible, and treat it as stabilization only until help arrives.
If I know the species of the wild egg, can I incubate it at home safely?
Yes, legality aside, wild bird incubation is risky because each species can require different incubation temperature curves, humidity targets, and turning behavior. Even experienced hobbyists often lack the species-specific data and incubation equipment, so the best “next step” is always identifying the species and contacting a rehabilitator rather than attempting to match generic domestic targets.
Next Article
How to Take Care of Bird Eggs: Step-by-Step Guide
Humane step-by-step care for found or abandoned bird eggs, from safety checks to home incubation and when to call a wild