Draining or opening a bird egg is only appropriate in a very specific emergency: when a chick is clearly alive inside but physically stuck and cannot hatch on its own, or when a cracked, leaking, or contaminated egg poses a risk to other eggs or a brooding bird. In almost every other situation, the right move is to leave the egg alone or hand it off to a licensed wildlife rehabilitator. If you are not certain the chick is alive and in distress, do not open the egg. The steps below are for genuine stuck-hatch emergencies only.
How to Drain a Bird Egg Safely: Emergency Steps
Marcus Holloway
5 May 2026
When draining an egg is actually the right call (and when it absolutely isn't)
There are two main scenarios where intervening with a bird egg makes sense. The first is an assisted hatch: a chick has pipped (broken through the shell) but has been visibly struggling without progress for many hours, and you have confirmed it is alive inside. The second is a dead, rotten, or badly contaminated egg that is cracked, oozing, or smelling strongly and sitting near viable eggs or a live bird. In that case, carefully removing the contents prevents bacterial contamination from spreading.
There are far more situations where you should not open an egg at all. Do not open an egg just because it has not hatched on your expected schedule. Incubation timelines vary widely by species. Incubation timelines vary widely by species, so if you are asking more generally about how to incubate bird eggs, use species-appropriate guidance rather than opening the shell early. Do not open an egg because it looks small, feels light, or has been in a nest that seems abandoned. A cold egg is not automatically a dead egg. And critically: wild bird eggs in the U.S. are protected under the Migratory Bird Treaty Act. Possessing, handling, or destroying them without a permit is a federal offense. If you found a wild bird egg outside of a captive or pet bird situation, your first call should be to a wildlife rehabilitator, not to a needle.
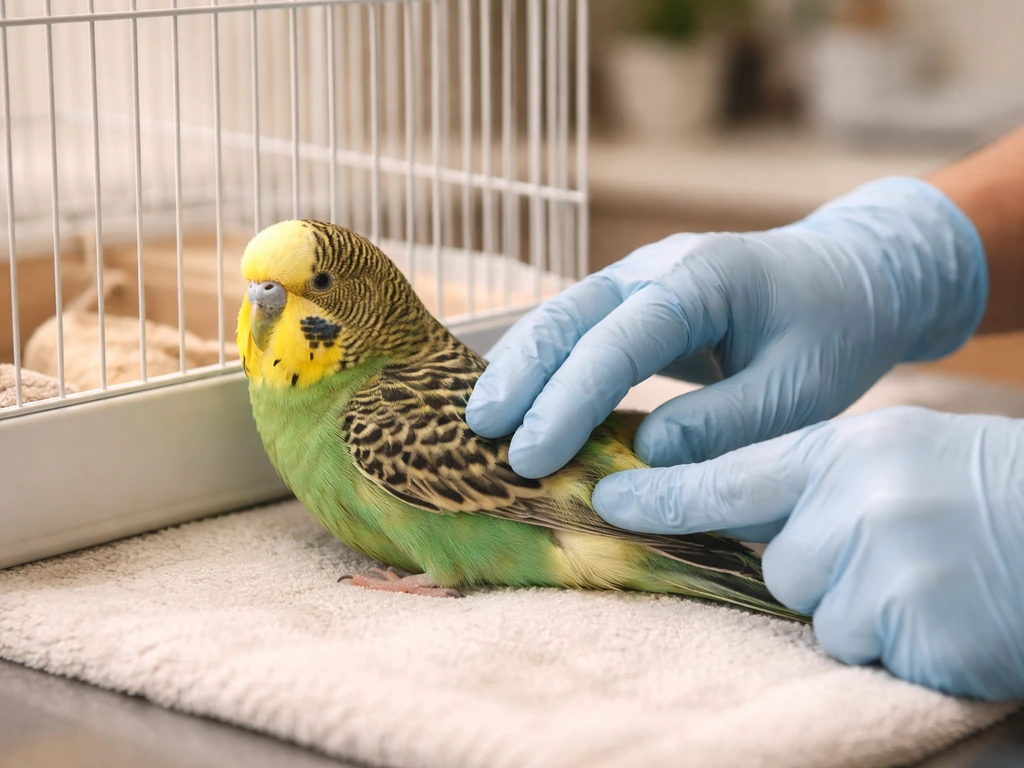
Assess the situation before you touch anything
Before you do anything to an egg, spend a few minutes observing carefully. The goal is to figure out whether the egg contains a living chick in distress, a dead or unviable embryo, or simply an egg that needs more time.
Signs a chick may be alive and stuck
- The egg has a pip (a small crack or hole in the shell) and you can hear faint chirping, tapping, or movement from inside.
- The pip appeared 24 or more hours ago (for most small birds) and there has been zero further progress.
- The membrane visible through the pip looks dry and tough, which can trap the chick.
- The chick made a full internal pip (air cell breach) but never externally pipped after more than 24 hours.
Signs the egg is dead, rotten, or contaminated
- A strong, sulfurous, or rotten smell, even without visible cracking.
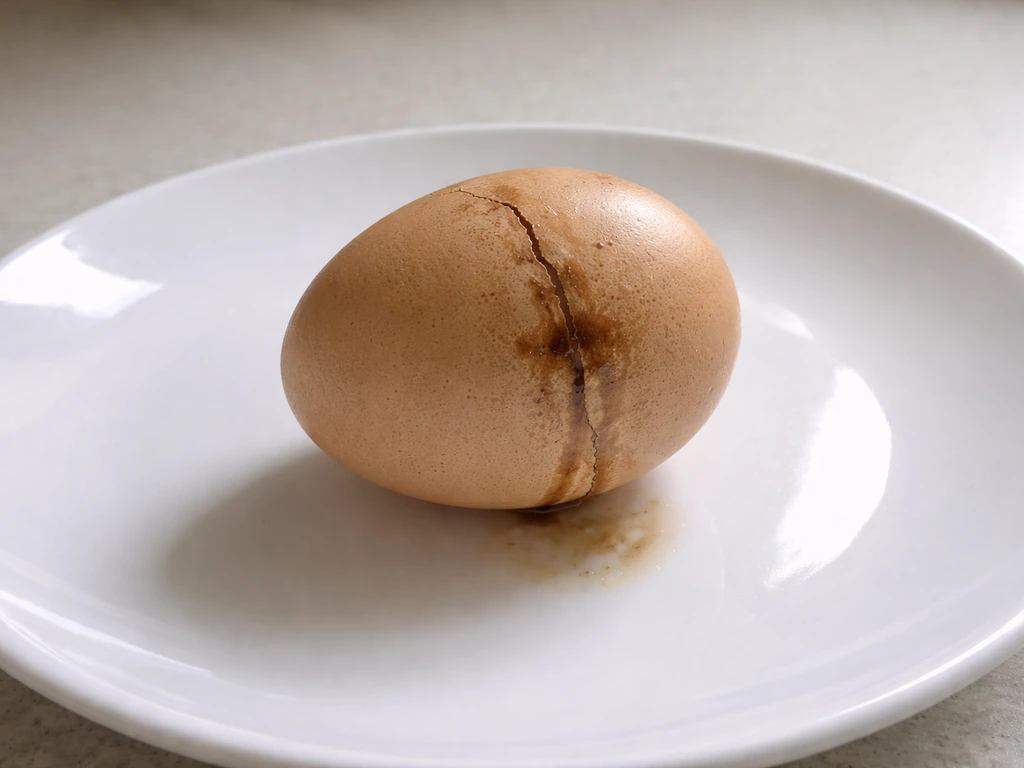
- Visible leaking fluid or a discolored, weeping crack in the shell.
- The egg is clearly past its incubation window with no pip or movement.
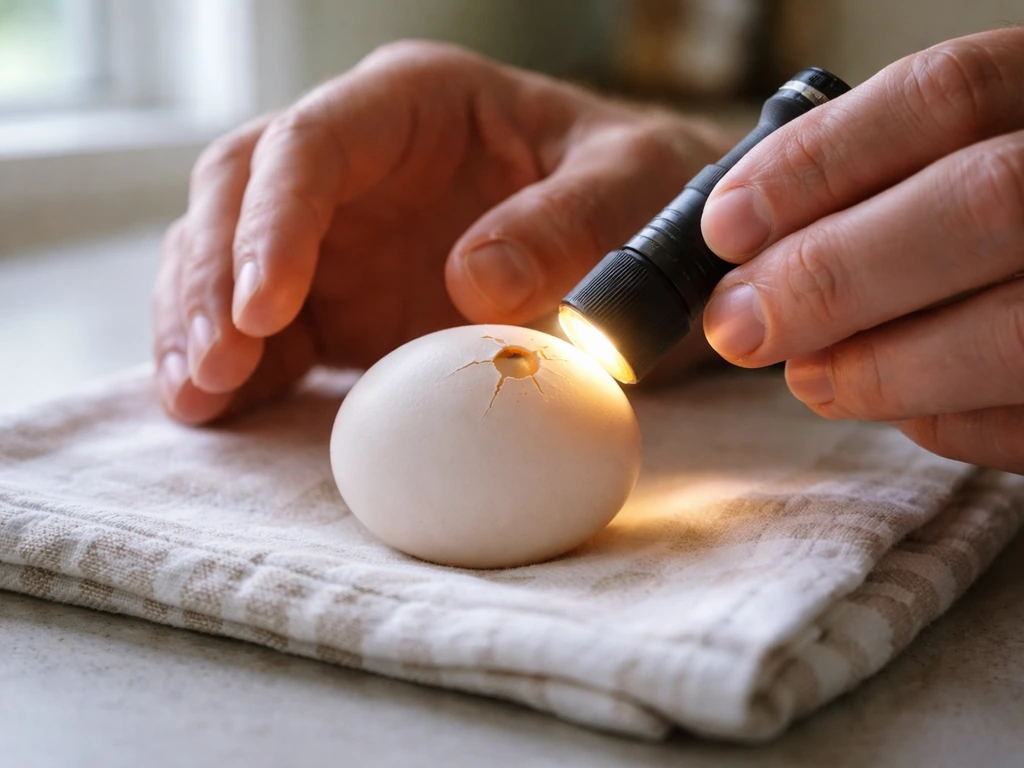
- Candling (holding the egg up to a focused light in a dark room) shows a dark, murky interior with no visible air cell, veins, or movement. A live viable egg will show a distinct clear air cell and, in later stages, a large dark mass that moves when you tilt the egg.
Candling is one of the safest ways to assess an egg without opening it. If you haven't tried it yet, that should be your first step. It gives you real information before you commit to anything more invasive. If after candling you still can't tell whether the egg is alive, that uncertainty is itself a reason to call a professional rather than proceed on your own.
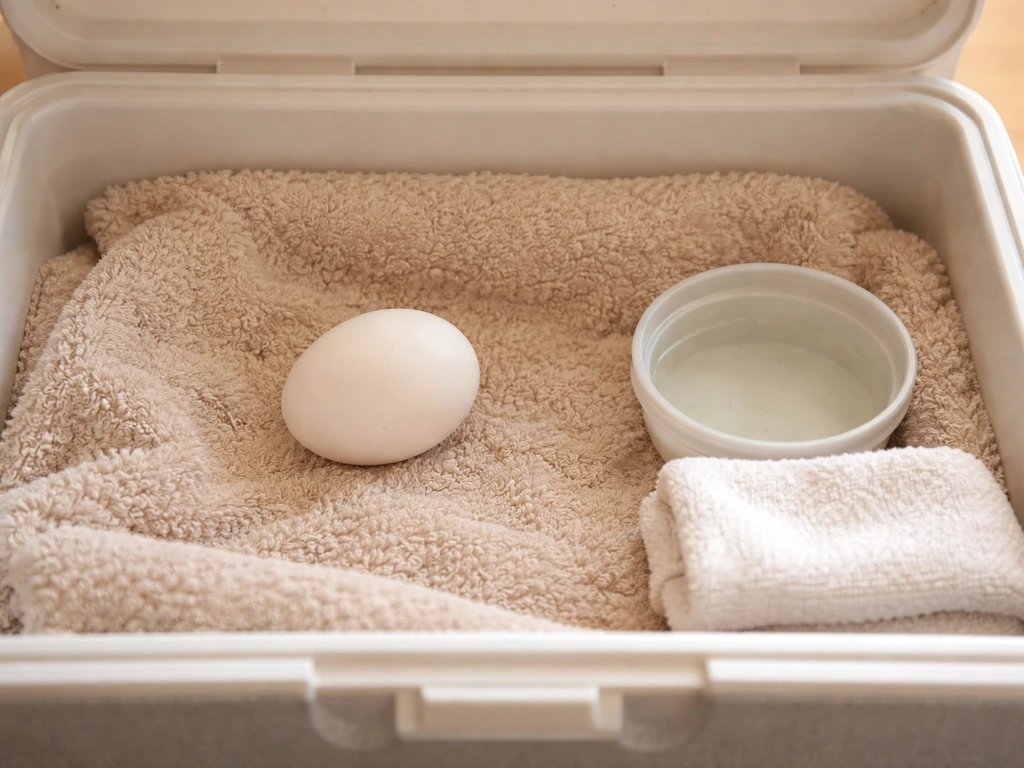
Set up a safe, clean space before you start
Rushing straight to the egg without preparing your workspace is one of the most common mistakes. A clean, warm, well-lit setup makes the difference between a stressed, contaminated mess and a calm, controlled intervention.
What you need
- A heat source: a small incubator set to 99-100°F (37-38°C) for most species, or a heating pad on the lowest setting under half the surface of a box, covered with a dry cloth. You need warmth within arm's reach the moment the chick emerges.
- A humidity source: a shallow dish of warm water near the heat source, or a damp warm cloth nearby. Dry air is a major cause of membrane sticking.
- Clean tools: a pair of fine-pointed tweezers or a blunt probe, a small bowl of warm (not hot) water, a clean soft cloth or paper towels, and a headlamp or bright focused flashlight.
- Nitrile gloves: protect you from bacteria in a rotten egg and protect the chick from skin oils and contamination.
- Good lighting: you need to clearly see what you are doing. A headlamp keeps both hands free.
Keep the egg at incubation temperature the entire time. Never work on a cold egg if you believe a chick is alive inside. A chick that gets cold during an intervention can go into shock very quickly. If you do not already have the egg at proper temperature, warm it gradually before proceeding.
Step-by-step: how to drain or open a bird egg safely
These steps cover two scenarios: assisted hatch for a stuck living chick, and safe removal of a dead or contaminated egg. Read through all steps before starting.
For a stuck living chick (assisted hatch)
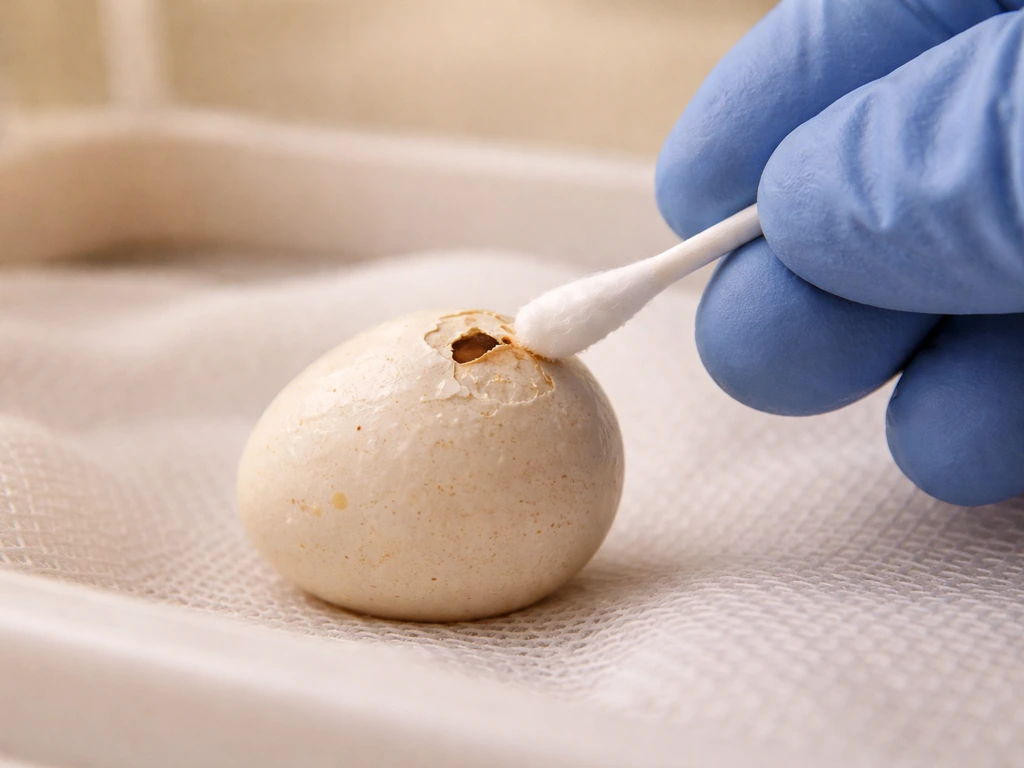
- Moisten the membrane first. Using a clean cotton swab or your fingertip, apply a small amount of warm water directly to the pip opening and the surrounding shell. Let it sit for five to ten minutes. This rehydrates a dry membrane, which is often the only thing trapping the chick. Sometimes this alone is enough to free the chick without further intervention.
- Gently enlarge the pip opening. Using fine tweezers or a blunt probe, very carefully chip away small pieces of shell around the existing pip, moving outward from the opening the chick already created. Work slowly, removing fragments no larger than a few millimeters at a time. Never pull, pry, or apply lateral force.
- Watch for blood vessels. If you see pink or red veins in the membrane, stop immediately. Visible blood vessels mean the chick has not yet fully absorbed its yolk sac and blood supply. Cutting or tearing a vessel can cause the chick to bleed out within minutes. Seal what you've opened with a small piece of damp cloth, keep the egg warm, and wait another 12 to 24 hours before trying again.
- If the membrane is clear of blood vessels, peel it back gently. Using moistened tweezers, peel small sections of the dry inner membrane away from the chick's head and beak area first, then the body. Keep the membrane moist with warm water as you go. The goal is to give the chick room to push out on its own, not to pull the chick out.
- Let the chick do the work. Once the opening is large enough and the membrane is peeled back from the head, pause and let the chick push itself out. This process can take another hour or more. Resist the urge to speed it up by pulling. Chicks that are pulled out often have unabsorbed yolk, cord injuries, or leg deformities.
- Support the chick as it exits. Place your cupped, gloved hand just below the egg so the chick drops gently onto your palm, not onto a hard surface.
For a dead, rotten, or contaminated egg
- Move the egg away from any other eggs or live birds immediately. Place it in a small sealed bag or container to contain any leaking fluid before you proceed.
- Work outdoors or in a well-ventilated area. Rotten egg contents release hydrogen sulfide gas, which smells terrible and can be harmful in an enclosed space.
- Over a drain or lined container, make a small hole in the blunt end of the egg using a clean nail or pointed tool. Allow the liquid contents to drain out slowly by gravity. Avoid squeezing or compressing the egg, as this can spray contaminated fluid.
- Dispose of the contents and shell in a sealed bag in an outdoor bin. Clean your tools and gloves thoroughly with soap and water, and wash your hands even if you wore gloves.
What not to do
- Never use alcohol, hydrogen peroxide, bleach, or any chemical near a live egg or chick. These kill chicks rapidly.
- Never shake, drop, or compress the egg.
- Never try to pull a chick out by force. You will injure it.
- Never work on a cold egg. Warm it first.
- Never chip into the egg without an existing pip to guide you on a live egg. You risk cutting directly into the chick.
Aftercare once the chick is out
Getting the chick out is only the first step. Newly hatched chicks are extremely fragile and need warmth above everything else in the first hours of life.
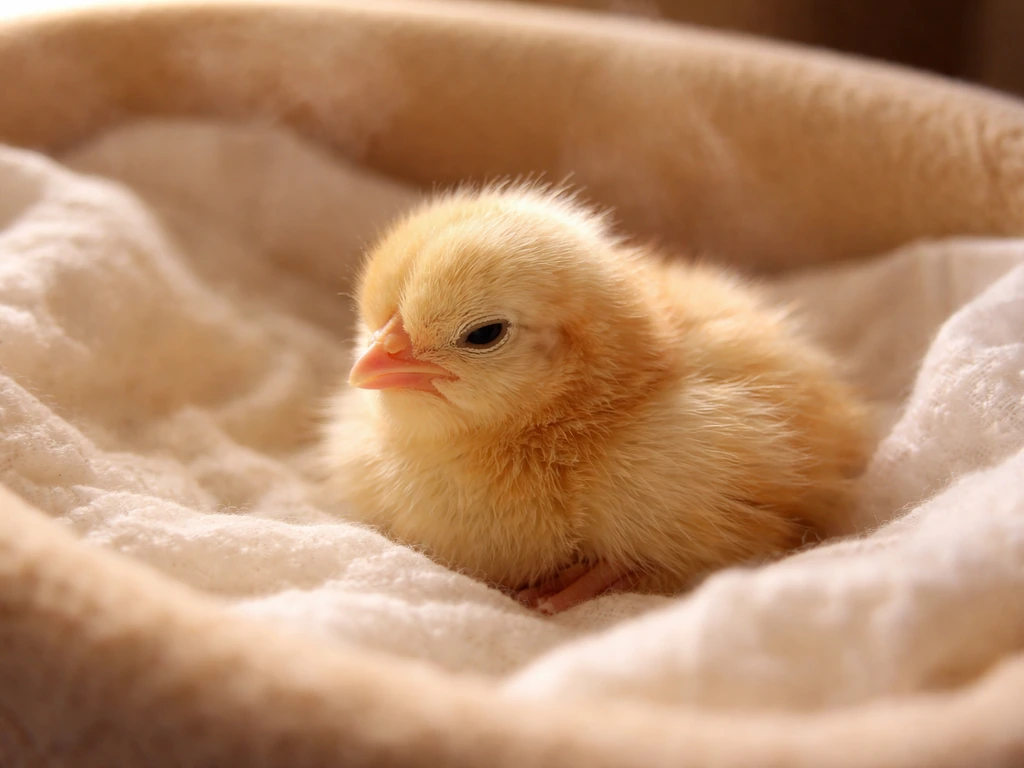
Immediate warmth
Place the chick in your pre-warmed container immediately. The ambient temperature around the chick should be 95-100°F (35-38°C) for most altricial (naked, helpless) hatchlings. A chick that is cold will feel limp and stop moving. A chick that is too hot will pant with its beak open and move away from the heat source. Adjust accordingly.
Cleaning the chick
If the chick has egg fluid, membrane pieces, or shell fragments on it, gently remove them with a damp warm cloth or cotton swab. Be very gentle around the umbilical area (the belly button, where the yolk sac cord attaches). This area should look clean and dry within a few hours. If it looks wet, inflamed, or if there is unabsorbed yolk still hanging from the belly, do not attempt to cut or remove it. Keep the area clean and dry and get the chick to a vet or rehabilitator as soon as possible.
Monitoring alertness and breathing
- A healthy newly hatched chick will be weak at first but will show some head movement and will open its beak when tapped or stroked gently near the beak.
- Breathing should be visible, regular, and unlabored. Rapid gasping, wheezing, or gurgling sounds are signs of respiratory distress.
- The chick should gain strength over the first hour, not lose it. A chick that seems weaker after an hour of warmth needs immediate professional help.
Feeding and water: keep it simple for now
Do not attempt to feed or give water to a newly hatched chick in the first few hours unless directed by a rehabilitator or vet. Hatchlings absorb their yolk sac for nourishment and can survive for 12 to 24 hours without additional food. Giving water by dropper to a weak hatchling is one of the leading causes of aspiration pneumonia, which is usually fatal. If the chick is a pet bird species (canary, budgie, cockatiel, pigeon), contact a vet for specific hand-feeding guidance before attempting it.
Stop and call for help right now if any of these apply
Some situations are beyond what you can safely handle at home. Do not wait to see if things improve if you notice any of the following.
- You see blood vessels in the membrane and have already cut or torn them.
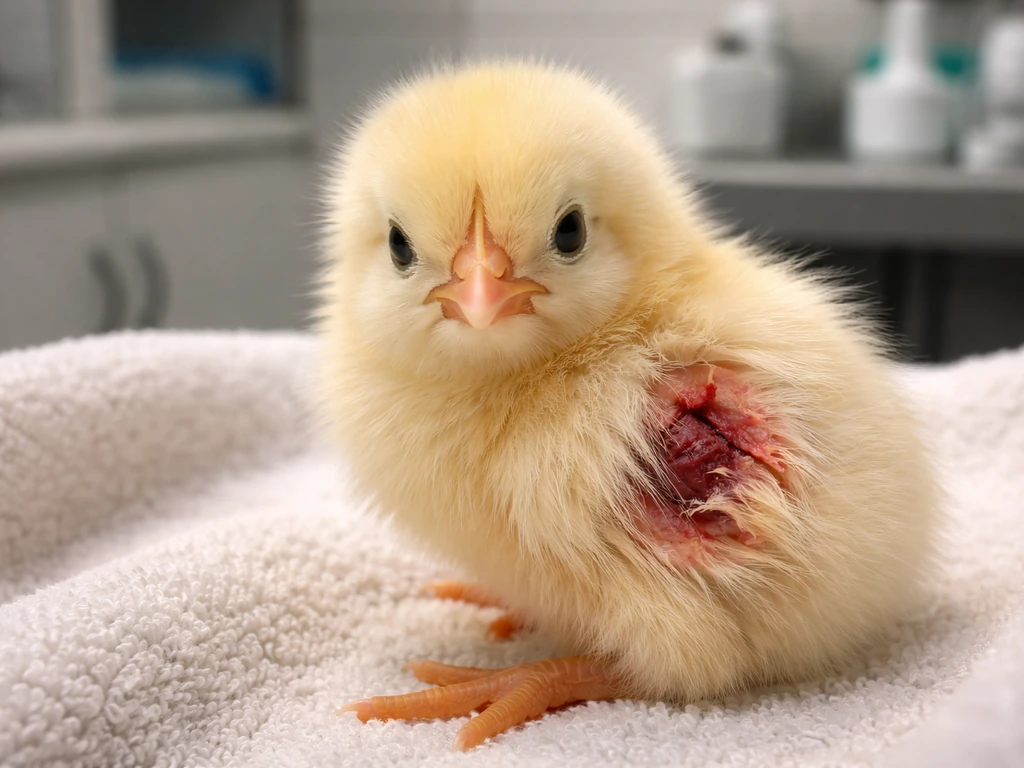
- The chick is bleeding from anywhere on its body.
- There is unabsorbed yolk still attached to the chick's belly.
- The chick is not gaining strength after an hour of proper warmth.
- The chick is gasping, wheezing, or making rattling sounds while breathing.
- The egg is from a wild bird species (in the U.S., contact a licensed wildlife rehabilitator immediately, as handling may be illegal without a permit).
- You are unsure at any step what you are looking at or what to do next.
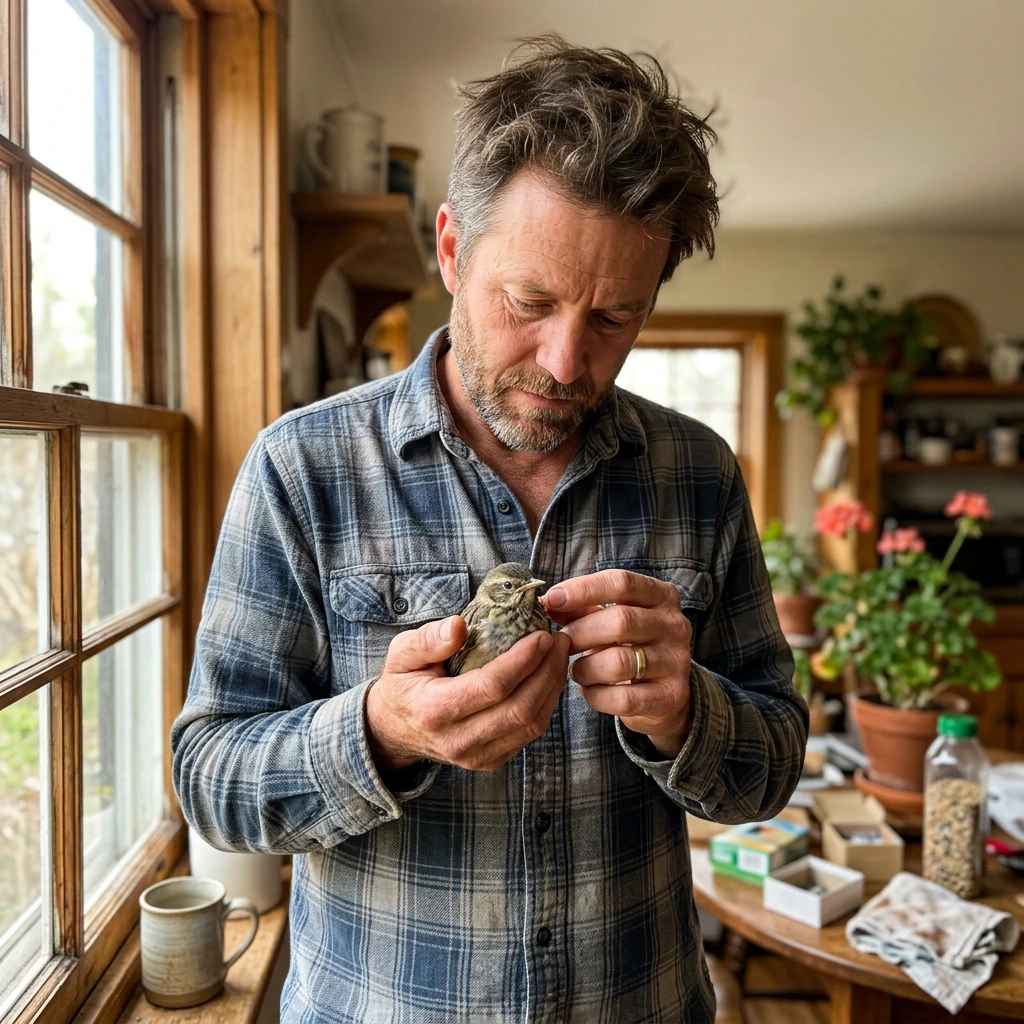
To find a licensed wildlife rehabilitator in the U.S., contact the U.S. Fish and Wildlife Service or search the National Wildlife Rehabilitators Association (NWRA) and the National Wildlife Rehabilitators directory. Most states also have a wildlife hotline or state agency that can direct you to the nearest permitted rehabilitator. Your local veterinarian is also a good first call. They may be able to treat the chick directly or refer you immediately to a specialist who can.
The U.S. Fish and Wildlife Service is clear that for the safety of the animal, yourself, and your family, you should always call a professional when dealing with injured or vulnerable wildlife. That advice applies here. If you have any doubt at all, make the call before you make an opening in the egg. A five-minute phone conversation with a rehabilitator can save a chick's life in a way that a well-intentioned but mistimed intervention cannot.
FAQ
What if the egg was found outside and I think it is abandoned, can I drain it to help it hatch?
Do not open or drain it based on nest abandonment or schedule. A cold egg can still be developing, and opening it increases the risk of killing a viable embryo or spreading contamination. If the bird is wild and you are in the U.S., contact a wildlife rehabilitator first, even if the nest looks empty.
How do I know whether to stop and call a professional instead of continuing with an assisted hatch?
If you cannot confirm the chick is alive after careful observation or candling, or if the chick appears cold, bleeding, badly deformed, or has a wet, inflamed belly area or unabsorbed yolk, stop. At that point, the safest next step is a vet or licensed rehabilitator, because small timing or handling errors can be fatal.
Is it ever appropriate to drain a cracked egg if it smells bad but I am not sure the chick is alive?
If the egg is leaking or strongly smelling and is near viable eggs or a live brooding bird, isolating and removing the contaminated egg contents can be necessary. However, if you cannot tell whether an embryo is alive, do not open it yourself. In most uncertain cases, your safest move is to contact a rehabilitator for instructions.
Can I use a candle or flashlight test on any type of bird egg?
Candling works best when lighting matches egg size and shell thickness, but very small or very opaque shells may not give clear results. If candling does not let you determine viability, that uncertainty alone is a reason to call a professional rather than proceed with opening.
What is the biggest danger if the chick gets cold during the process?
Cold stress can quickly lead to shock, after which the chick may stop moving and die even if the hatch assistance initially seemed successful. If the egg is not already at proper incubation temperature, warm it gradually and minimize time out of the incubation range.
After the chick is out, how long should I keep it warm before seeking help?
Keep it in a pre-warmed, controlled environment immediately, with appropriate warmth for altricial hatchlings (often 95-100°F, 35-38°C). Then arrange professional care as soon as possible, especially if you notice wetness around the belly button area, shell fragments stuck to the umbilicus region, or any breathing difficulty.
Should I feed or give water to the chick right away if it seems weak?
Do not feed or give water in the first few hours unless a vet or rehabilitator directs you. Hatchlings usually rely on the yolk sac initially and can aspirate if liquid is given, leading to aspiration pneumonia. If it is a pet-bird species, ask a bird-experienced vet for species-specific hand-feeding instructions before attempting.
What should I do if I accidentally open an egg and the chick is not alive?
Treat the situation as contamination risk. Keep the area clean, avoid handling other eggs or nestlings, and contact a wildlife rehabilitator or vet if there are nearby viable eggs or other vulnerable birds. Even after confirming non-viability, you should not keep the contents or attempt further interventions.
Are there legal issues if the egg is wild?
Yes. In the U.S., wild bird eggs are protected under the Migratory Bird Treaty Act. Possessing, handling, or destroying them without appropriate permits can be a federal offense, so the safest first step is to call a rehabilitator before attempting any opening.
How can I find the right kind of help if I am not sure which agency covers my area?
Start with a local wildlife hotline or state wildlife agency, then use directories like NWRA to locate permitted rehabilitators. A local veterinarian is also a practical first call, because they may triage quickly or refer you to an authorized specialist.
Next Article
How to Massage an Egg-Bound Bird: Safe Step-by-Step Help
Step-by-step how to massage an egg-bound bird safely, when to stop, aftercare, and when to seek urgent vet help.